

Overview
Integrations & Approvals is a One-Click Experience you can resell. Your customers connect the tools they already use (Gmail, Google Calendar, Slack, HubSpot, and more) in your branded portal. They choose which actions their AI assistant may take on its own, and approve everything else from their phone before it happens. This experience does not include an agent builder, phone numbers, or campaigns. Customers bring their own AI assistant and use your portal to give it app connections and a safety check.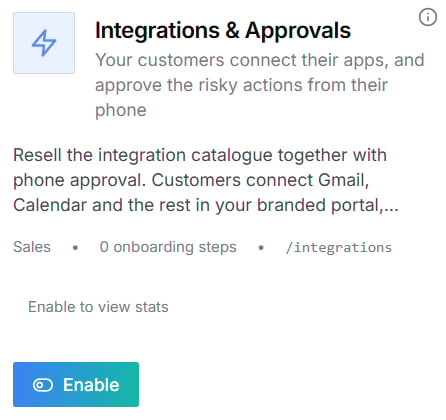
Turn it on
- Open One-Click Experiences in your Partner Portal.
- Find the Integrations & Approvals card.
- Select Enable.
- Optionally, select Make default to show this experience on your root domain. Only one experience can be the default at a time.
/integrations on your portal domain.
Finish the setup checklist
When you open Settings, a checklist at the top shows what is left to do, such as Branding, Dashboard Experience, and Sidebar & Features. Select any item to jump straight to it.
Configure the experience
The Integrations & Approvals section of the settings page has four parts.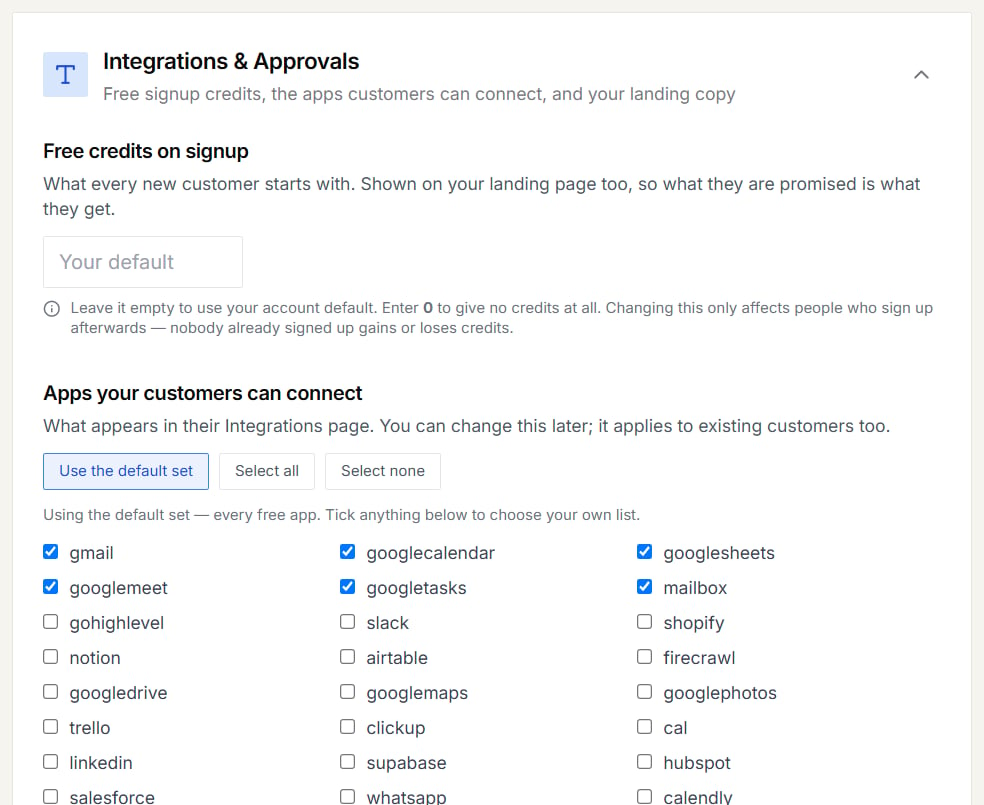
Free credits on signup
The credits every new customer starts with. The same number is shown on your landing page, so customers get exactly what they were promised.- Leave it empty to use your account default.
- Enter 0 to give no credits at all.
- Changes only affect people who sign up afterwards. Existing customers never gain or lose credits.
Apps your customers can connect
This controls what appears on your customers’ Integration page. Changes also apply to existing customers.- Use the default set gives them every free app. This is selected to begin with.
- Select all or Select none changes every box at once.
- Tick or untick individual apps to build your own list.
Sell phone approvals too
When this is ticked, your landing page includes a section about phone approvals. Untick it if you have not switched approvals on yet, so you don’t advertise something your customers can’t use.Landing page words
Set your own Headline, Sub-heading, and Button text. Leave any of them empty to use the standard wording. Select Save Settings when you’re done. The same page also has the usual experience options: display name and URL path, branding, dashboard experience, sidebar options, pricing tiers, and quick links.What your customers see
Your landing page explains the offer in plain terms: connect your tools, let your AI assistant do the work, and keep the final say by approving important steps from your phone. It shows the free credits you set and a Connect my tools button.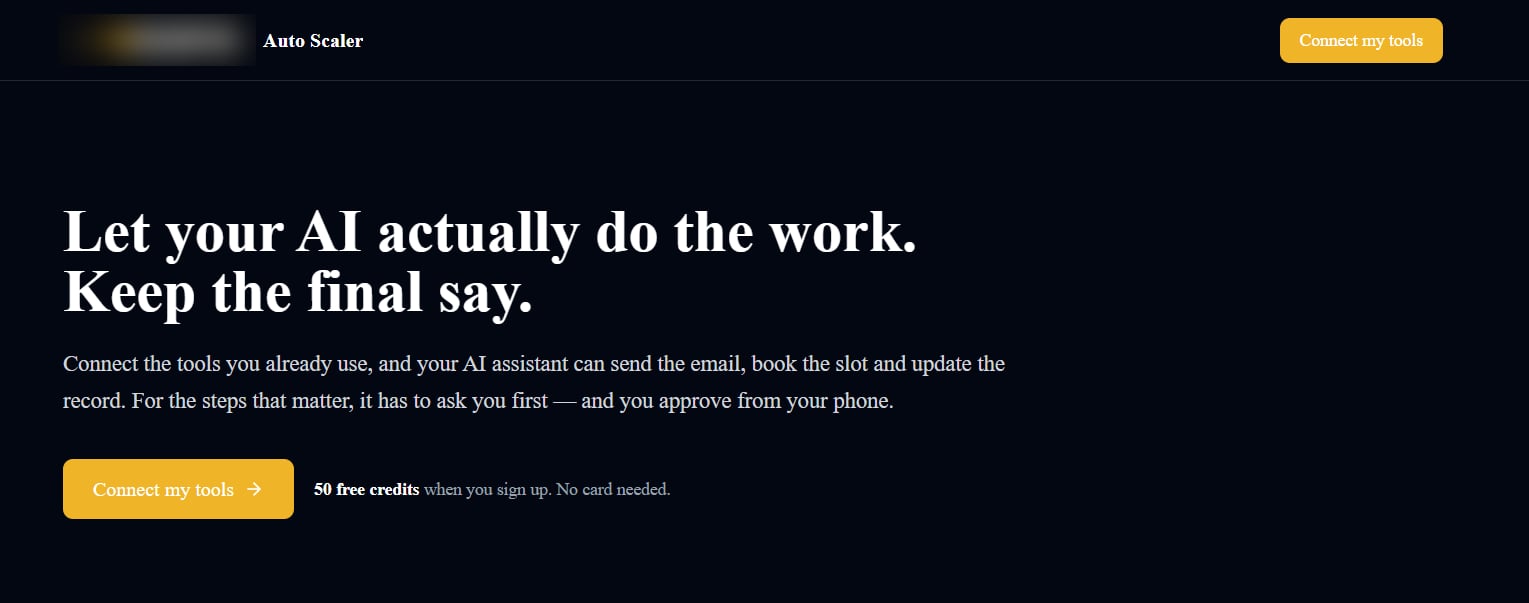
- a portal account with your branding
- the free credits you configured
- the Integration page, limited to the apps you allowed
- the Approvals page, where they choose which actions need their OK
Give an existing customer access
- Open Customers → Active Customers.
- Select Manage, then Features & Add-ons.
- Turn on Integration and MCP Access & Approvals.
- Save your changes.