

What Resell AI Gateway is
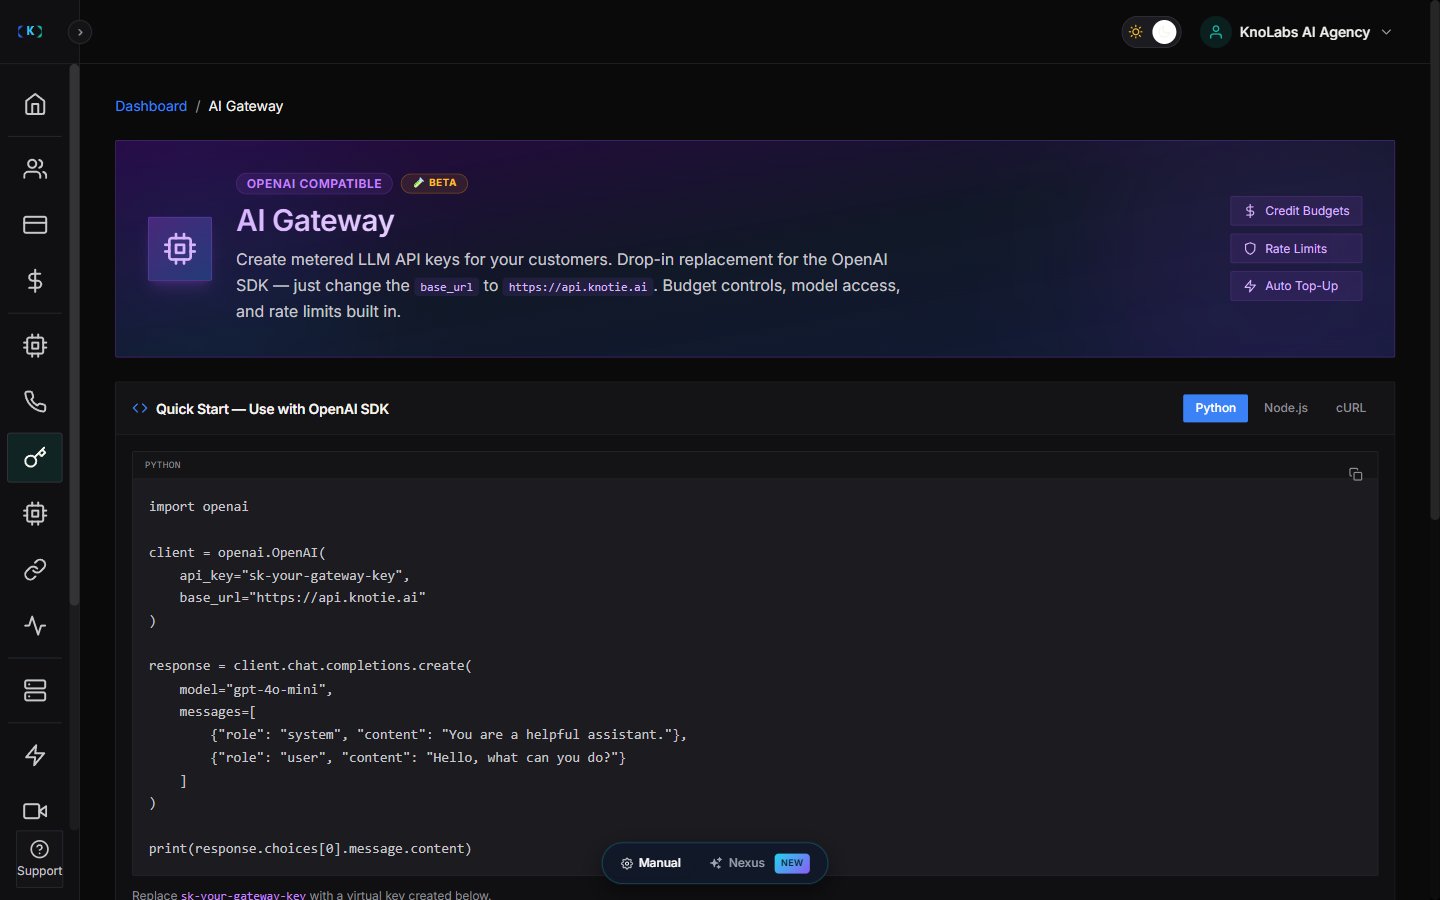
Resell AI Gateway is a Partner Experience that lets you run a branded AI API service on your own domain. When enabled, your customers can visit a landing page you control, pick a subscription package, pay by card (or claim a free tier), and immediately receive an OpenAI-compatible API key routed through Knotie’s AI gateway — all without any manual setup on your end. Use Resell AI Gateway when you want to:- Sell access to LLM APIs under your own brand
- Offer tiered subscription packages (free, monthly, yearly)
- Collect payment via your existing Stripe Connect account
- Automatically revoke access when a subscription lapses
- Give customers a self-service portal at
/whitelabel/ai-gateway
Resell AI Gateway is in Beta. It requires your partner account to have an active Stripe Connect configuration and sufficient Knotie Credits. See Prerequisites below.
Prerequisites
Before enabling:- Stripe Connect must be configured in Partner Portal → Settings → Stripe Connect. Package creation and Stripe Checkout both run on your Connect account.
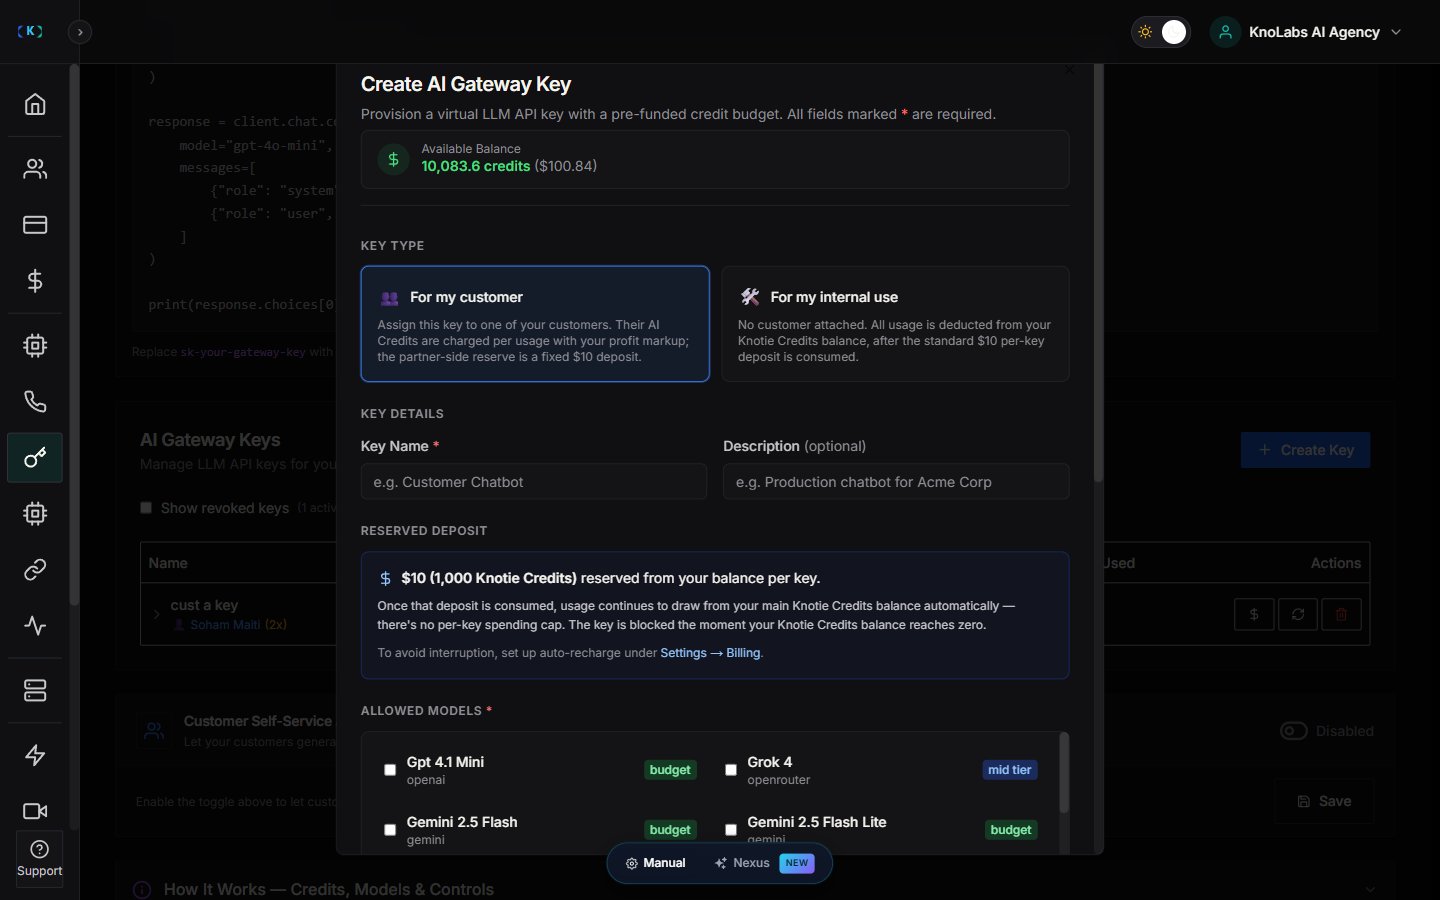
- Your Knotie Credit balance must be positive. Each customer AI Gateway key reserves 1,000 Knotie Credits (~$10) from your pool. Top up at Partner Portal → Credits if needed.
- Your partner tier must support AI Gateway (contact support if the Experience card is not visible).
Enabling the experience
- Go to Partner Portal → Experiences.
- Find the Resell AI Gateway card (marked Beta).
- Click Enable.
- Your experience is created with the default web address ending in
/ai-gateway, and you’re taken to the settings page.
yourdomain.com/ai-gateway, that’s what customers will visit.
Settings page overview
The Resell AI Gateway settings page is a single scrolling page, arranged top to bottom like this:- Overview — your experience title, web address, and status.
- Two reminders at the top:
- Custom domain — flags if your custom domain isn’t verified yet. Until it is, the code samples customers see use Knotie’s address instead of yours. Set this up at Partner Portal → AI Gateway → Custom Domain.
- Credits — a reminder that each customer key you provide sets aside about 1,000 credits. Links to your Credits page to top up.
- Two summary cards — quick metrics for the experience.
- Landing-page branding — your hero text, features, FAQs, and branding.
- Packages — your subscription tiers, where you can create, edit, duplicate, delete, and turn packages on or off (see Managing packages below).
Your gateway defaults (your profit multiplier and the list of models you allow) aren’t on this page — they live under Partner Portal → AI Gateway in the sidebar. There’s also no Analytics section on this page yet.
Managing packages
Creating a package
- Scroll to the Packages section (bottom of the settings page) and click + New Package.
- Fill in the fields:
- Click Save. This automatically sets up the matching product and pricing in your Stripe account.
Editing and deleting packages
- Edit — opens the same form. Saving updates the allowed-models list for all existing customers on that package automatically.
- Duplicate — copies everything into a new draft package.
- Delete — removes the package from your landing page. Existing subscribers keep their access until their next billing cycle.
- Enable/disable toggle — hides or shows the package on the landing page without deleting it.
Customizing the landing page
The Landing-page branding section sits in the middle of the settings page, between the summary cards and the Packages section. Here you can customize:- The hero title, subtitle, and button text
- The features section (an icon, title, and description for each card)
- FAQ entries (question and answer pairs)
- Your branding (logo, primary color, business name)
Customer signup flow
What customers see
When a customer visits your landing page (e.g.,yourdomain.com/ai-gateway), they see:
- Hero — your branding, headline, and a “Get started” button
- Supported models — the models you’ve made available
- Feature highlights — the ones you set in the Landing-page branding section
- Pricing — your packages, with trial badges where they apply
- Code sample — a ready-to-use example that works with their key after signup
- FAQ — your questions and answers
Free package path
When a customer clicks Get started on a free package:- A signup dialog asks for email, password, full name, and optional company name.
- On submit, an API key is provisioned immediately.
- The key is shown once in the dialog — the customer must copy it now.
- The customer is taken to their gateway portal, where they can view their key and credit balance.
Paid package path (with optional trial)
- The customer clicks Get started on a paid package and fills in the signup form.
- They’re taken to a secure Stripe checkout page.
- A card is required even when a trial is offered.
- Once payment goes through (or the trial starts), their account and API key are set up automatically.
- The customer is taken to their gateway portal with their key ready.
Subscription lifecycle
Knotie keeps each customer’s subscription in sync with Stripe automatically:Trials
- The customer’s key and credits are set up the moment they finish checkout — not when the trial ends.
- Their account shows as trialing during the trial period.
- When the first real payment goes through after the trial, their credits refresh and the account becomes active.
Viewing Gateway customers
Customers acquired through Resell AI Gateway appear in Partner Portal → Prospects with a purple AI Gateway badge. Once converted (payment succeeded or free package claimed), they appear in your standard Customers list with:- An “AI Gateway Customer” badge in their customer details
- Their package name shown beneath their name
- AI Gateway and AI Credits already turned on
Common problems and fixes
Related pages
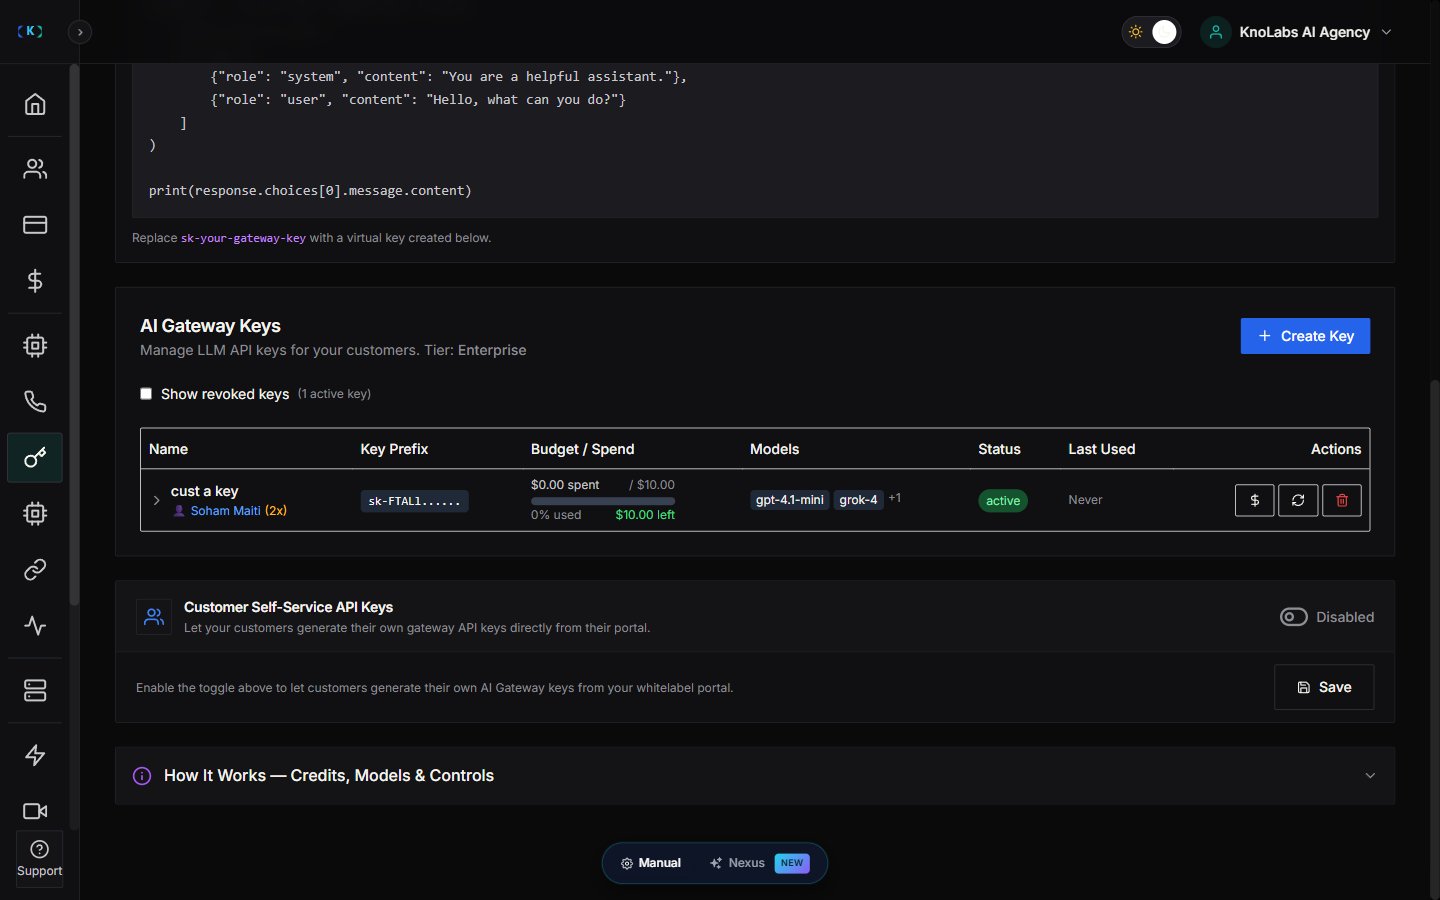
- AI Gateway — Partner-owned keys and customer self-service settings
- Stripe Connect — Required for paid packages
- Credits — Manage your Knotie Credit balance
- Prospects — Track Gateway signups before conversion
- Customer Self-Service API Keys — Alternative: let existing customers create their own keys