

What Partner Settings is
The Settings page in the Partner Portal is where you configure everything your agency and whitelabel portal need to operate:- Whitelabel portal — domain, branding, landing page, portal mode
- Voice AI Agent — configure the AI Receptionist on your portal’s landing page
- Billing and payments — Stripe Connect, subscription plans, credit packs
- Integrations — provider API keys, SMTP email, AI translation, Sonti CRM
- Security — password, MFA, passkeys
Where to find it
In the Partner Portal sidebar, click Settings. The Settings button expands to 5 sub-items: Profile Settings, Partner API Keys, Email Domain Management, Plans & Billing, White-Label Portal.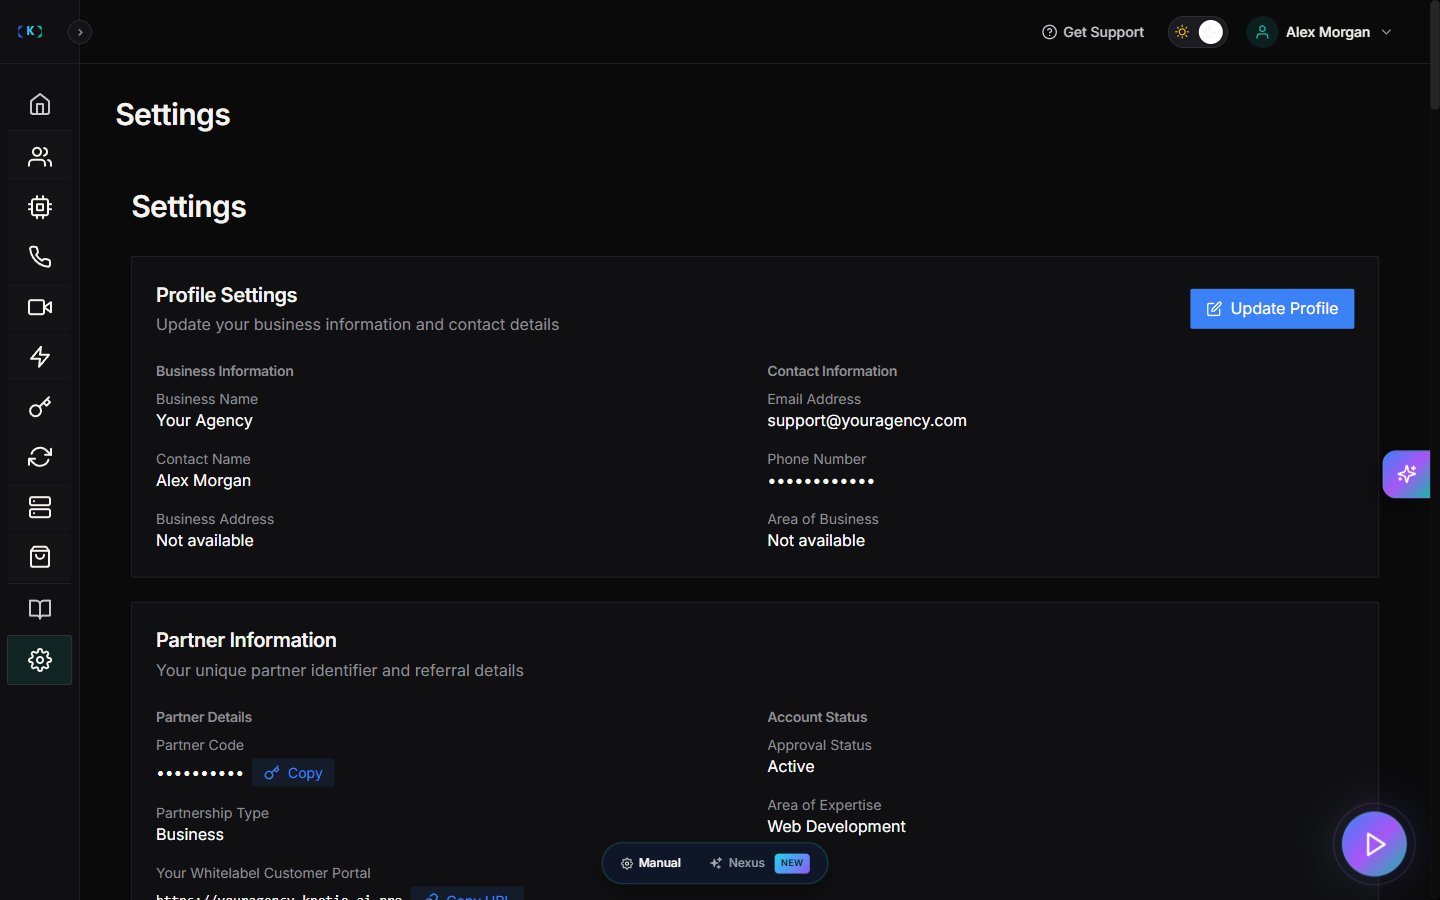
Navigating the Whitelabel Settings page
The Whitelabel Settings page (sidebar link White-Label Portal) has been redesigned with a Section Navigation Rail on the left and collapsible sections in the main area. This layout lets you jump directly to any part of the configuration without scrolling through a long page.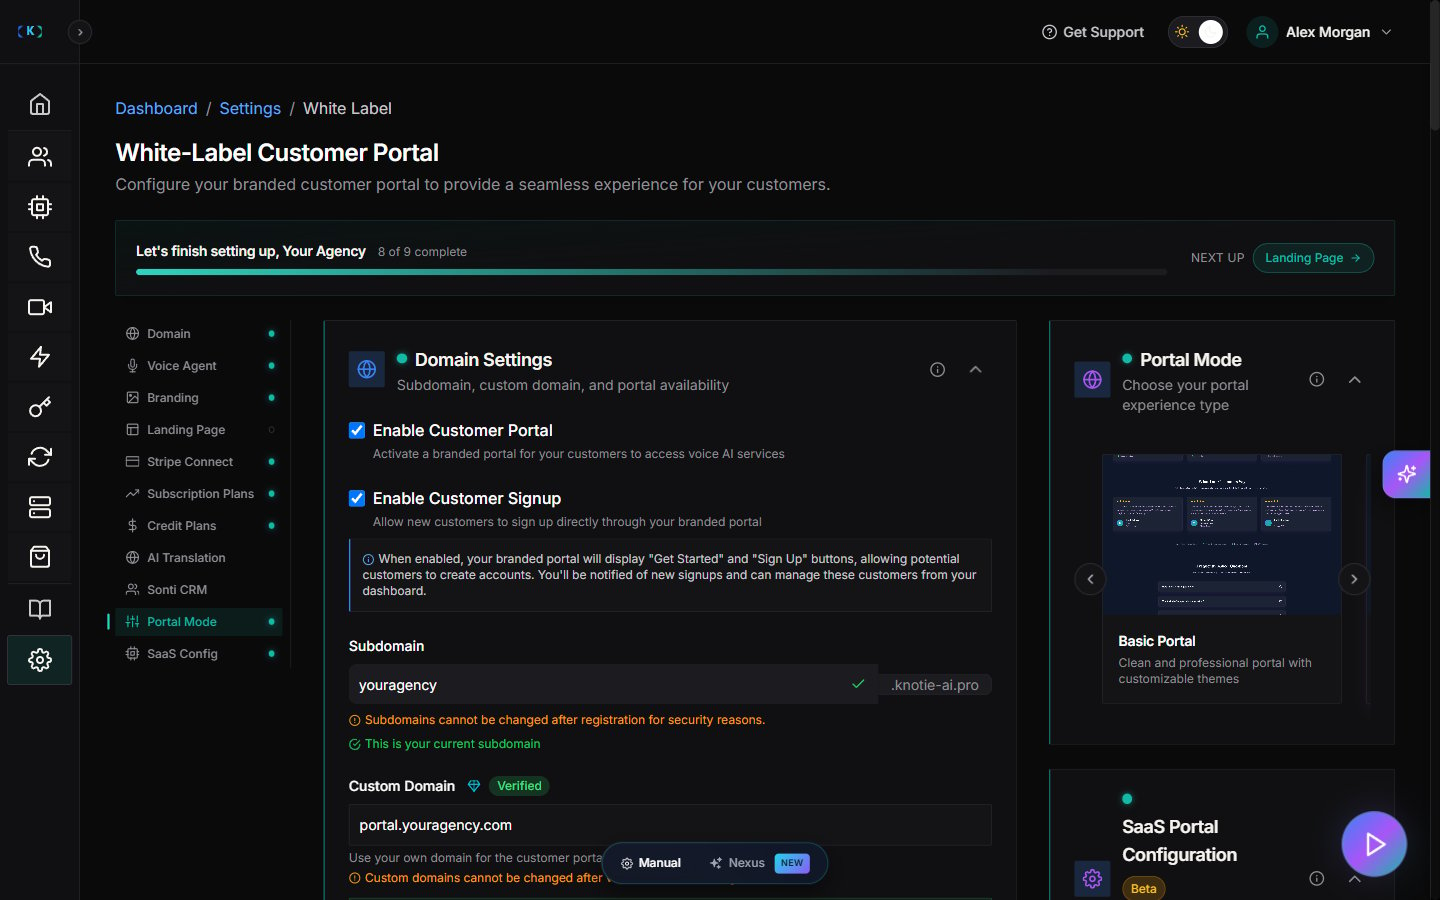
Section Nav Rail
The rail on the left lists every configurable section in order. Click any item to jump straight to that section. Each entry shows a status badge:- Set up — section is incomplete or has unresolved items
- Not yet set up — section still needs a setup action from you
- No badge — not applicable to your current plan or portal mode (for example, AI Translation or Sonti CRM)
- Domain
- Voice Agent
- Branding
- Landing Page
- Stripe Connect
- Subscription Plans
- Credit Plans
- AI Translation
- Sonti CRM
- Portal Mode
- SaaS Config (Beta)
Setup Progress Card
A Setup Progress Card at the top of the sidebar shows how many sections are complete and highlights the single most important next step. Use it as a checklist when setting up a new whitelabel portal for the first time.Collapsible sections
Each section in the main area can be expanded or collapsed independently. The page remembers your preference per section between visits. Smart defaults on first visit:- Every section starts collapsed.
- The single “next up” incomplete section opens automatically (the one whose prerequisites are already met).
- Portal Mode is always expanded because it is a one-click control.
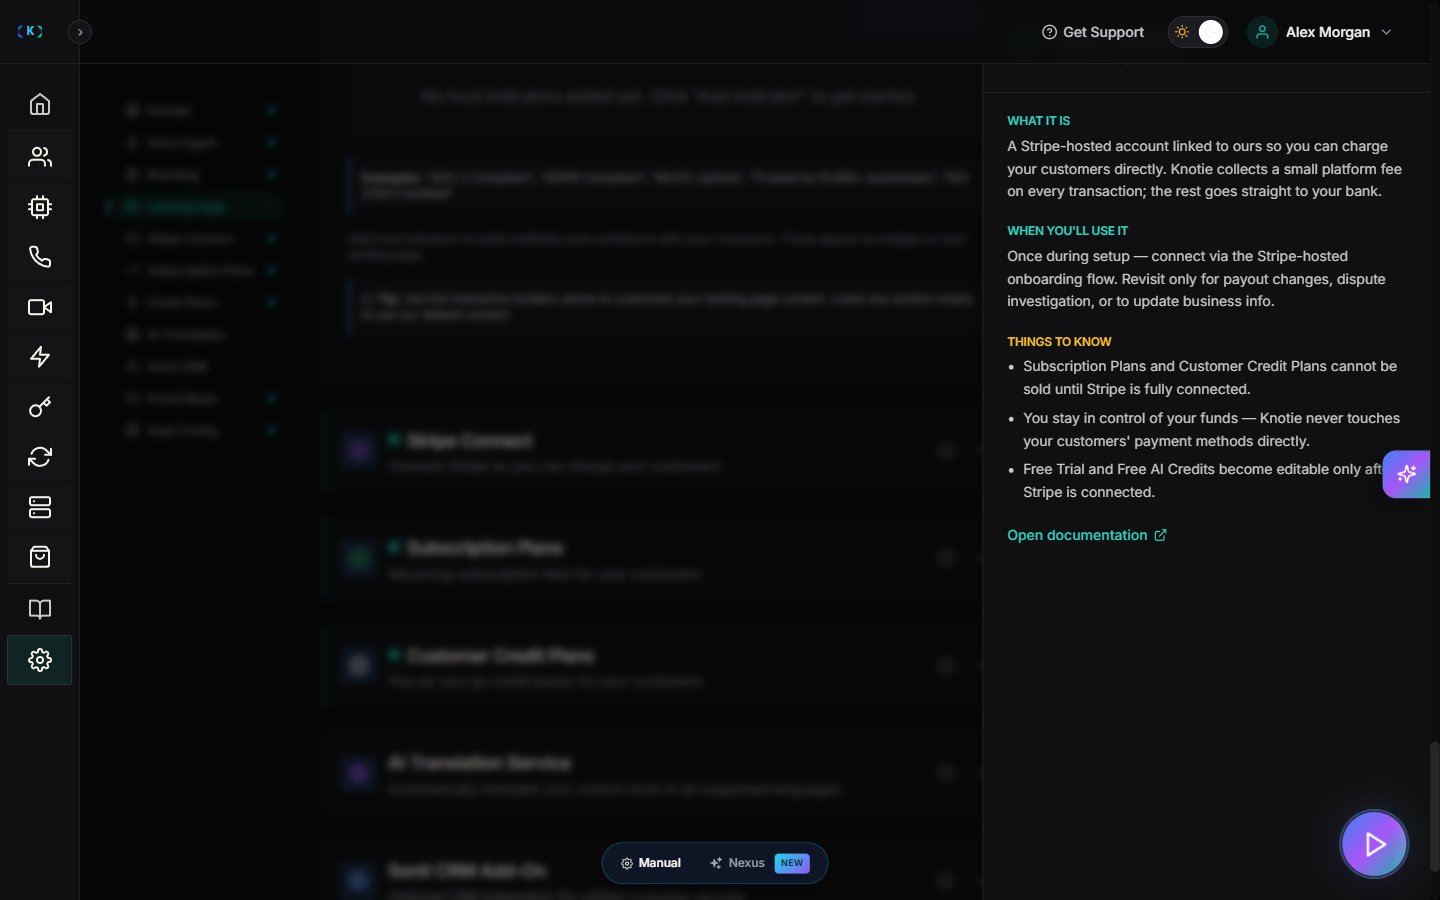
Section Info Drawer
Every section header has an [i] (info) button. Clicking it slides open a help drawer with:- What the section does
- When to visit it
- Common gotchas
Sections at a glance
Dependency gating
Some sections require others to be completed first. When a dependency is missing, the section is visually dimmed and shows a gate overlay explaining what needs to happen first. Example: Subscription Plans and Customer Credit Plans both require Stripe Connect to be completed before they can be configured.Recommended setup order
- Portal Mode — choose Basic or SaaS (this shapes which other sections matter).
- Domain Settings — pick your subdomain; optionally point a custom domain.
- Portal Branding — upload logo, favicon, and set colours.
- Landing Page — fill in contact info and legal links.
- Stripe Connect — required before you can sell plans or credit packs.
- Subscription Plans and/or Customer Credit Plans — set your pricing.
- Voice AI Agent — configure the AI Receptionist if you have SaaS mode or want a live widget.
- Integration Settings (under the main Settings nav) — add provider API keys.