

Overview
Changing on 10 October 2026. The Partner Portal is moving to passwordless sign-in —
email address, then a passkey or a one-time email link. Two things change on this page:
the email code option below is being removed, and a passkey signs you in without
an MFA step at all. See Passwordless sign-in.
Recommendation
Enable MFA for all partner accounts that manage:- Customer access
- Domains
- API keys
- Billing (especially Stripe)
How to set up
- In the Partner Portal, go to Settings → Profile Settings.
- Find the Security section (password, MFA, passkeys).
- Click Enable MFA.
- Scan the QR code using an authenticator app (Google Authenticator, Authy, 1Password, etc.).
- Save your backup codes.
Your password, MFA, and passkey controls all live together under Settings → Profile Settings.
Signing in with MFA
With MFA on, signing in with a password shows a Two-Factor Authentication step afterwards. You can verify in one of the ways below — switch between them using the tabs at the top of the window.Two ways of signing in skip this step:
- A passkey, because it already proves both your device and you.
- A one-time sign-in link, because following the link signs you in (since 30 September 2026).
Authenticator app
Enter the 6-digit code from your authenticator app. This is the default method.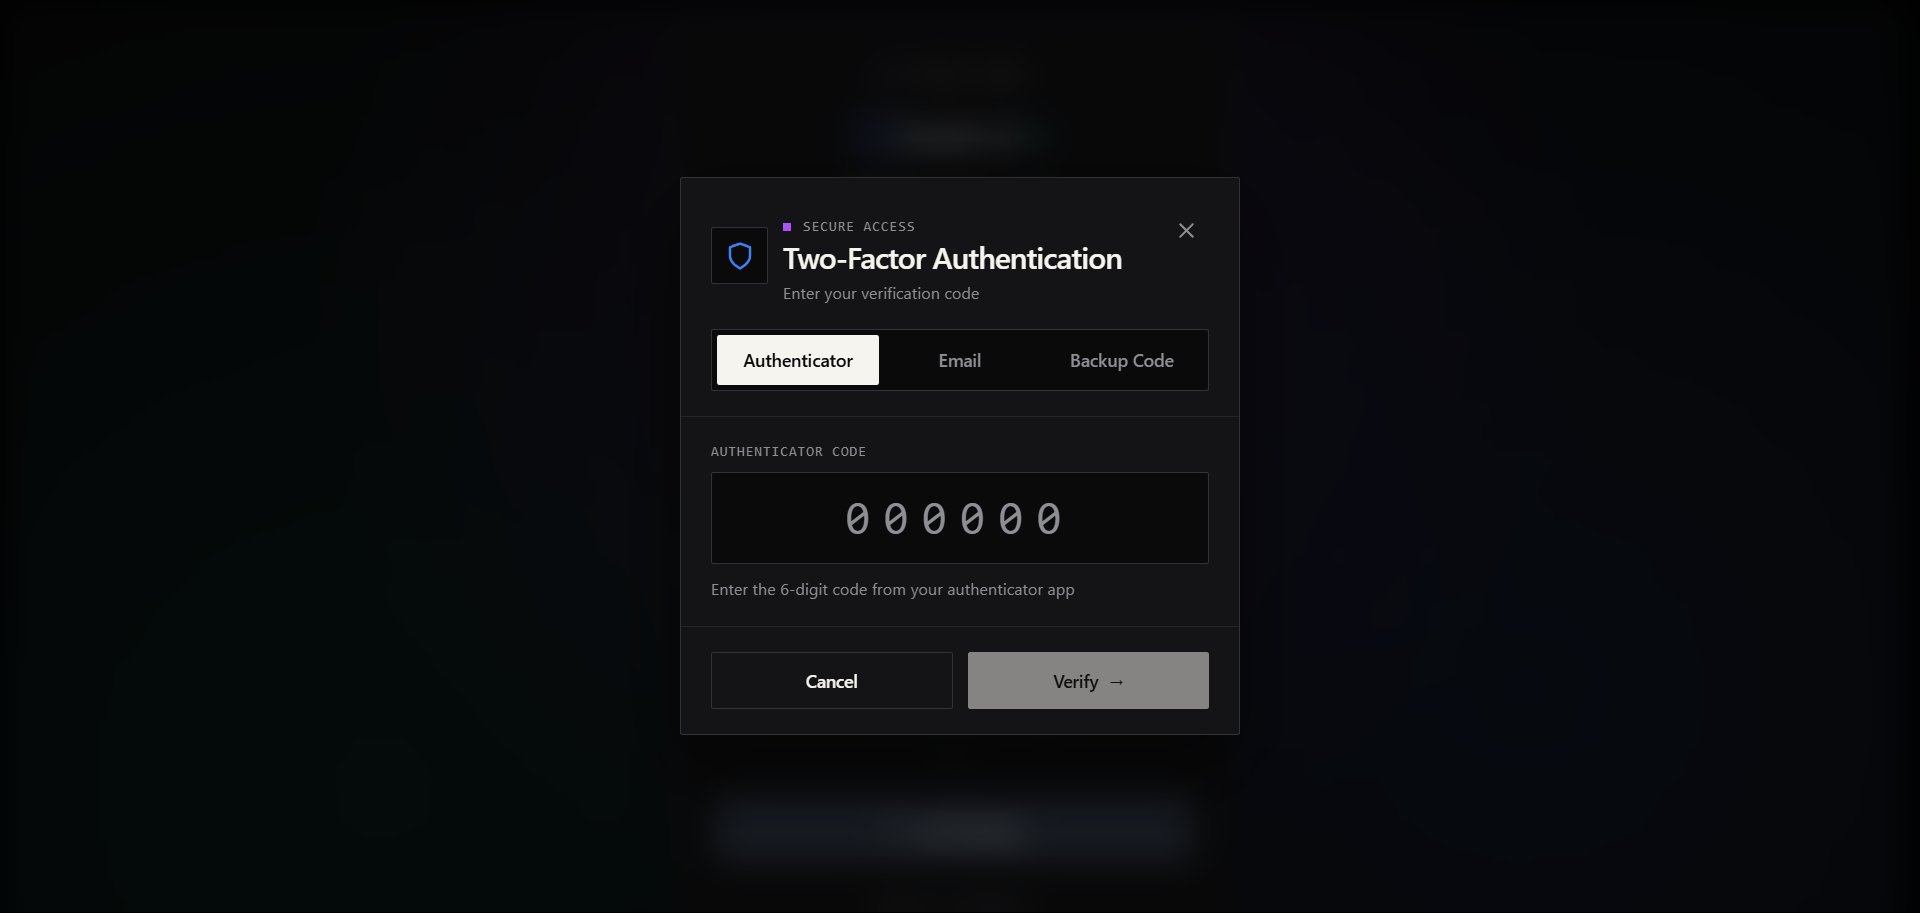
Email code (removed on 10 October 2026)
Until then: switch to the Email tab and click Send Email Code — we’ll email you a verification code to enter.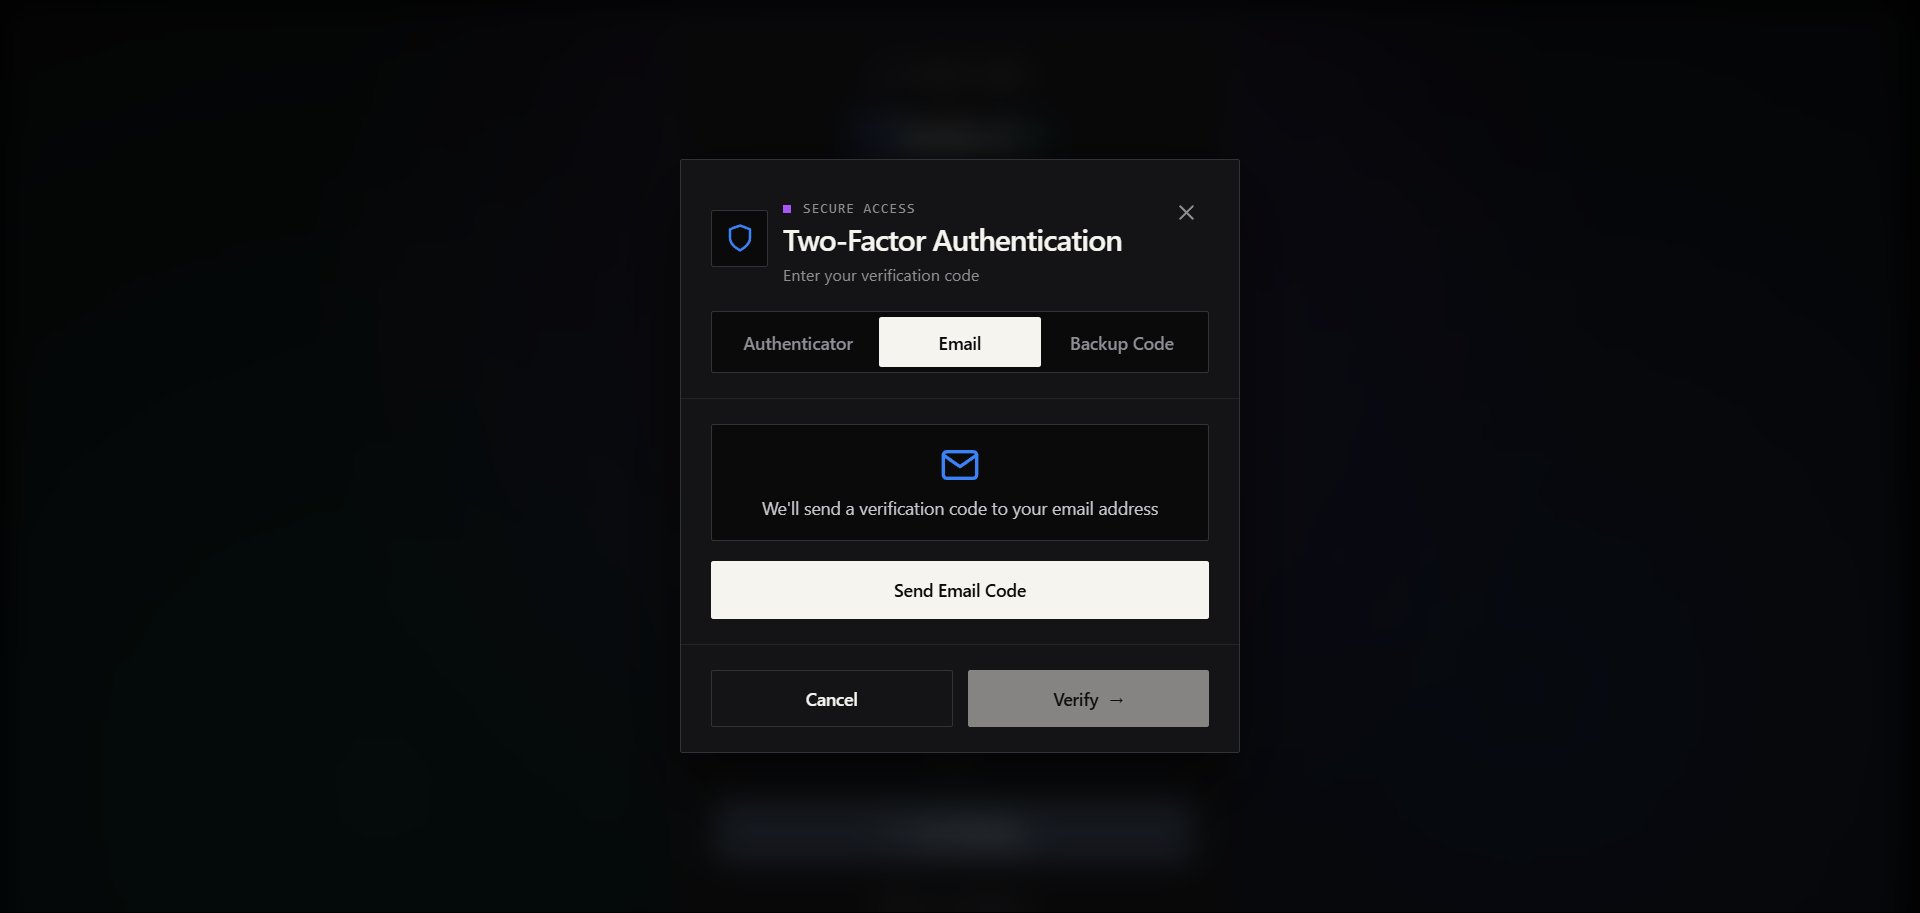
Backup code
Lost access to your authenticator? Switch to the Backup Code tab and enter one of your 8-character backup codes. Each code works once.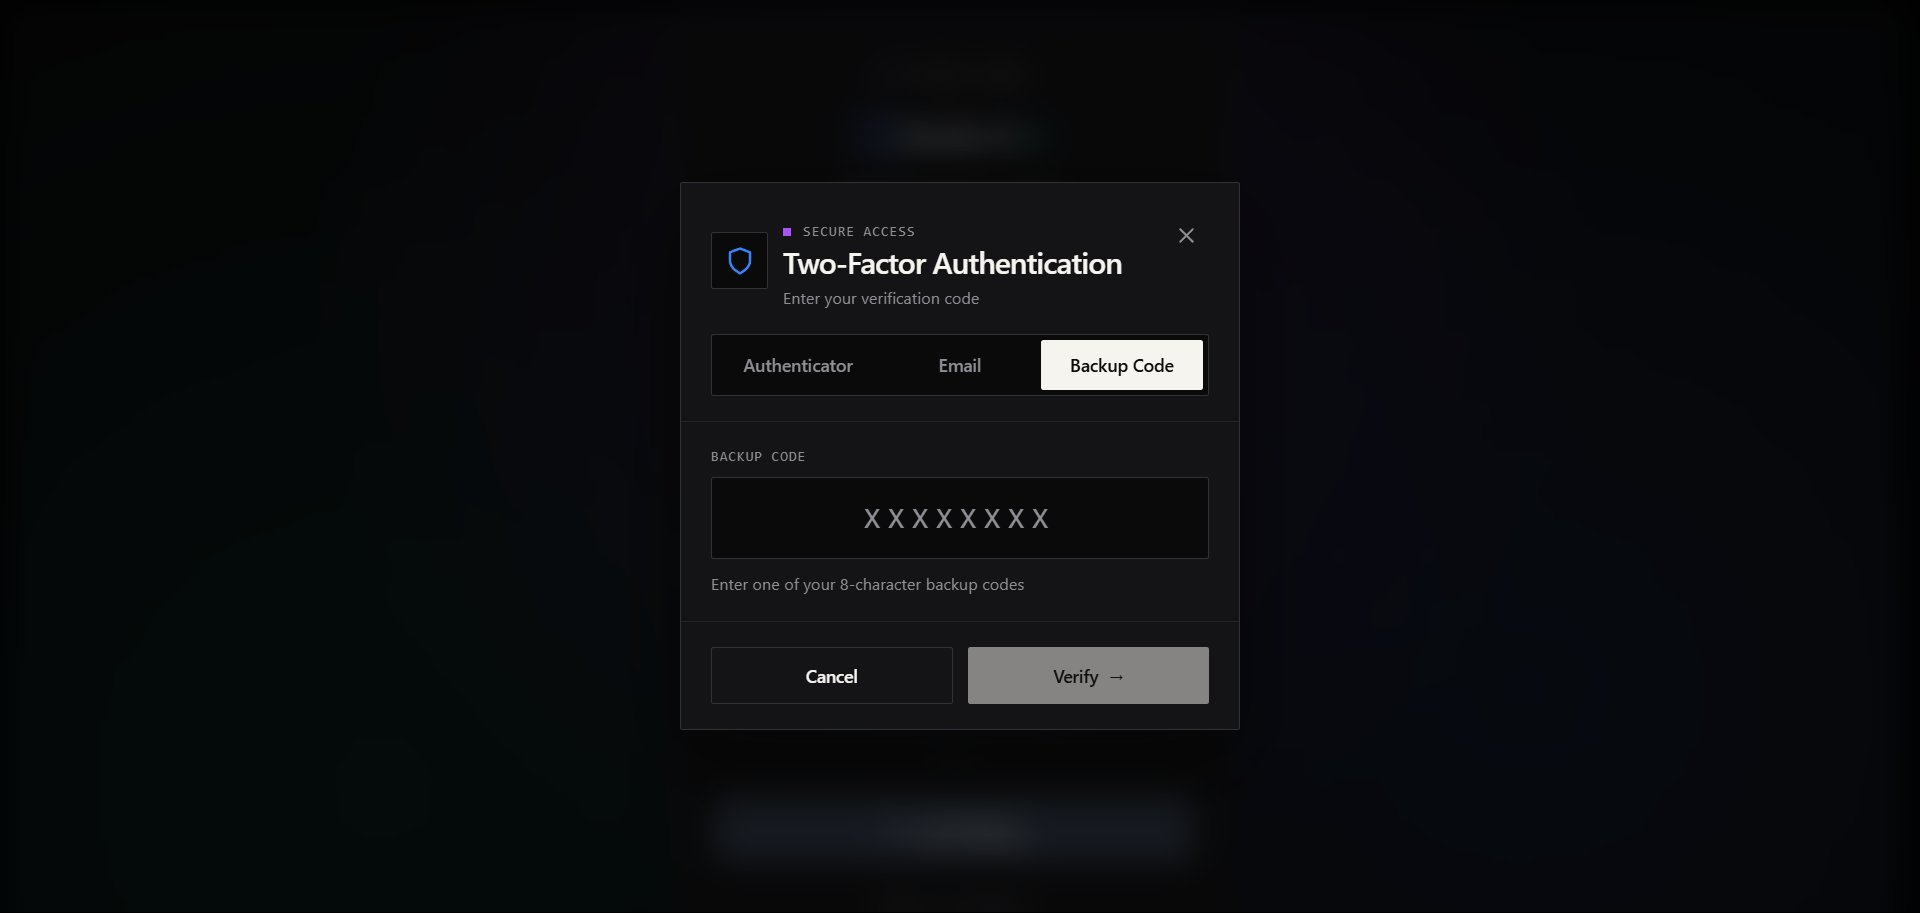
Backup codes
Backup codes are a fallback if you lose access to your authenticator app. In Settings → Profile Settings, you can generate and download new backup codes.Can I disable MFA?
You can disable MFA in Settings → Profile Settings in some cases. If Stripe Connect is enabled for your account, MFA is required and cannot be disabled while Stripe Connect is active — see the Stripe Connect doc. From 10 October 2026 this is enforced at sign-in: if MFA is not set up, you are guided through setting it up before reaching your dashboard. Setting up a passkey instead also satisfies it.What the Security section looks like
Under Settings → Profile Settings, scroll to Security Settings. This is where your password, MFA, and backup codes live.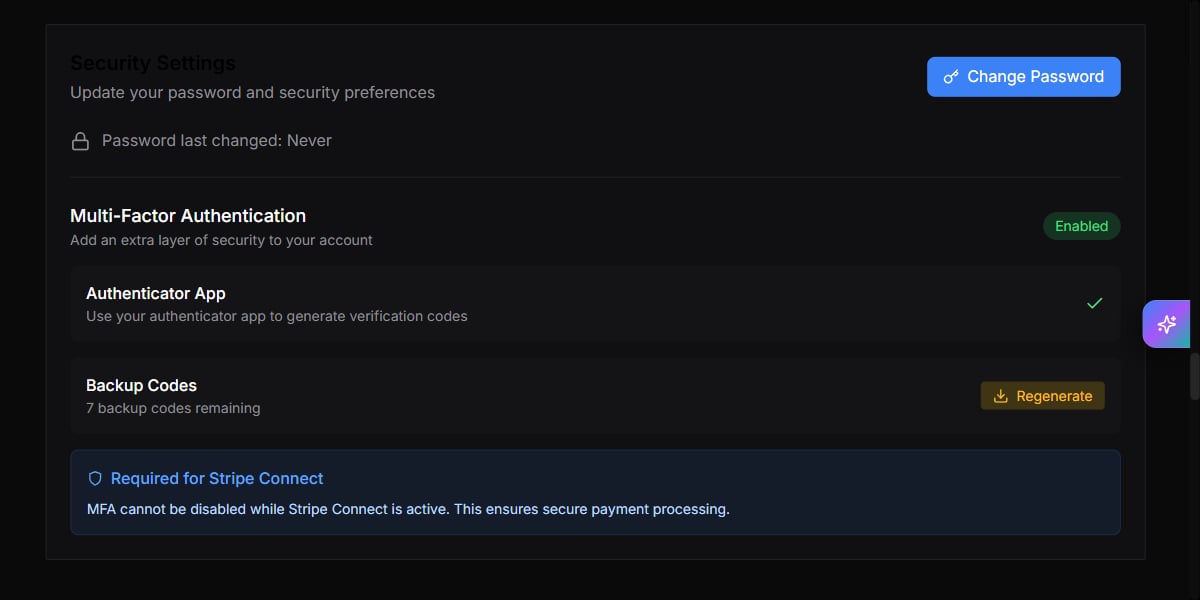
- Authenticator App — the second factor generated by your authenticator app.
- Backup Codes — one-time codes to use if you lose your authenticator. Use Regenerate to create a fresh set.
- If Stripe Connect is active, MFA stays on and can’t be disabled.