

Overview
This guide walks you through logging into the Knotie AI Pro Partner Portal as a new partner. By the end, you’ll be on your dashboard with full access to the onboarding checklist. Time to complete: ~5 minutes for first login (password change + optional MFA).Step 1 — Navigate to Partner Login
Go to the partner login page: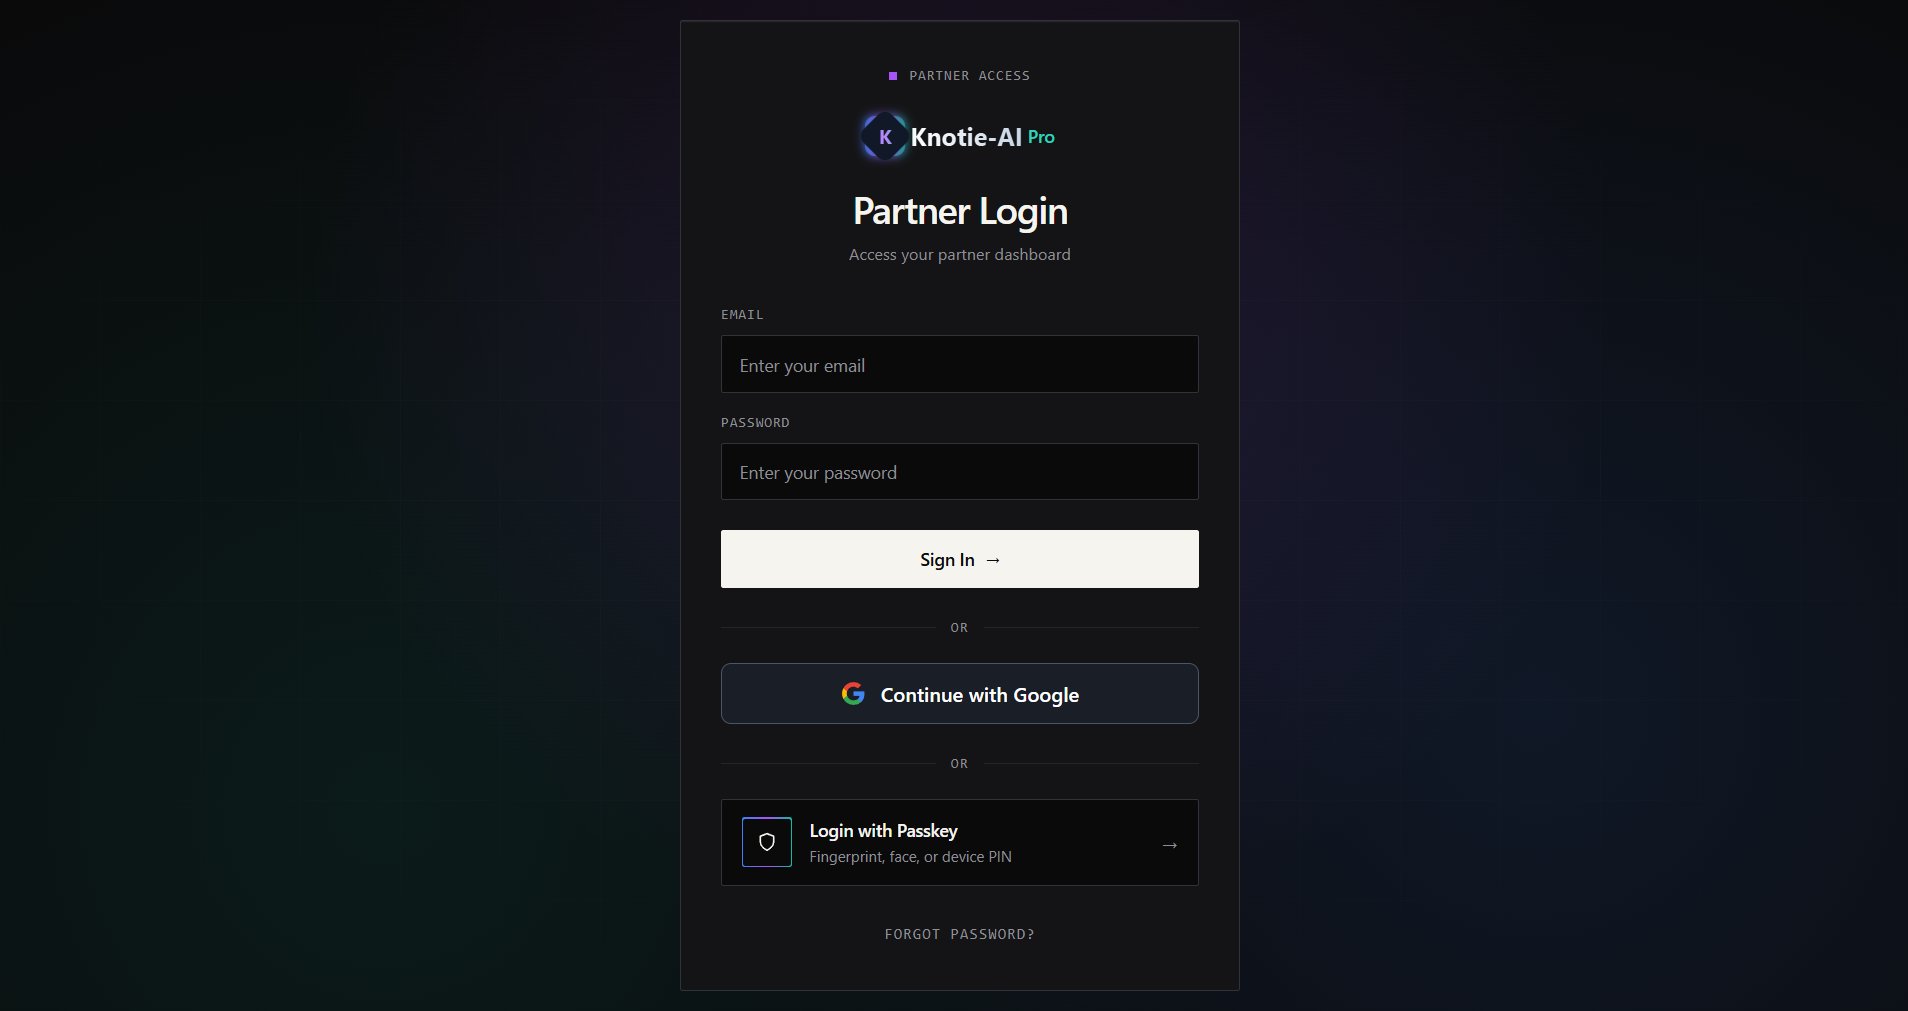
- Email and password fields
- Sign In button
- “Continue with Google” option
- “Login with Passkey” option
- “Forgot password?” link
Step 2 — Enter Credentials
Until 10 October 2026. From that date you enter your email address only — no password —
and sign in with a passkey or a one-time email link.
- Email: your partner email (e.g.
partner@example.com) - Password: the temporary password from the welcome email
First login only: If this is your first time logging in, you’ll be prompted to change your password immediately after this step.
Step 3 — Set a New Password (First Login Only)
This step is removed on 10 October 2026, along with password sign-in.
- Current Password — enter your temporary password
- New Password — create a strong password (min. 8 characters, mixed case, numbers)
- Confirm New Password — re-enter your new password
Step 4 — Secure Your Account / Passkey Setup
After your first password change, you’ll see the “Secure Your Account” modal offering passkey setup, followed by the Welcome screen. Choose one of:- Set Up Later — skip passkey setup and go to the dashboard (you can enable it later under Settings → Profile Settings)
- Create a Passkey — follow the browser prompt to register a passkey
The passkey prompt appears before the extra sign-in security (MFA) setup. Both are available — a passkey is the newer option and works across all your devices. Your password, MFA, and passkey controls all live under Settings → Profile Settings.
Step 5 — Choose How You Start
After the security prompt, you land on your dashboard. A small selector lets you switch how you want to work:- Manual — the standard dashboard (this is where you’ll spend most of your time).
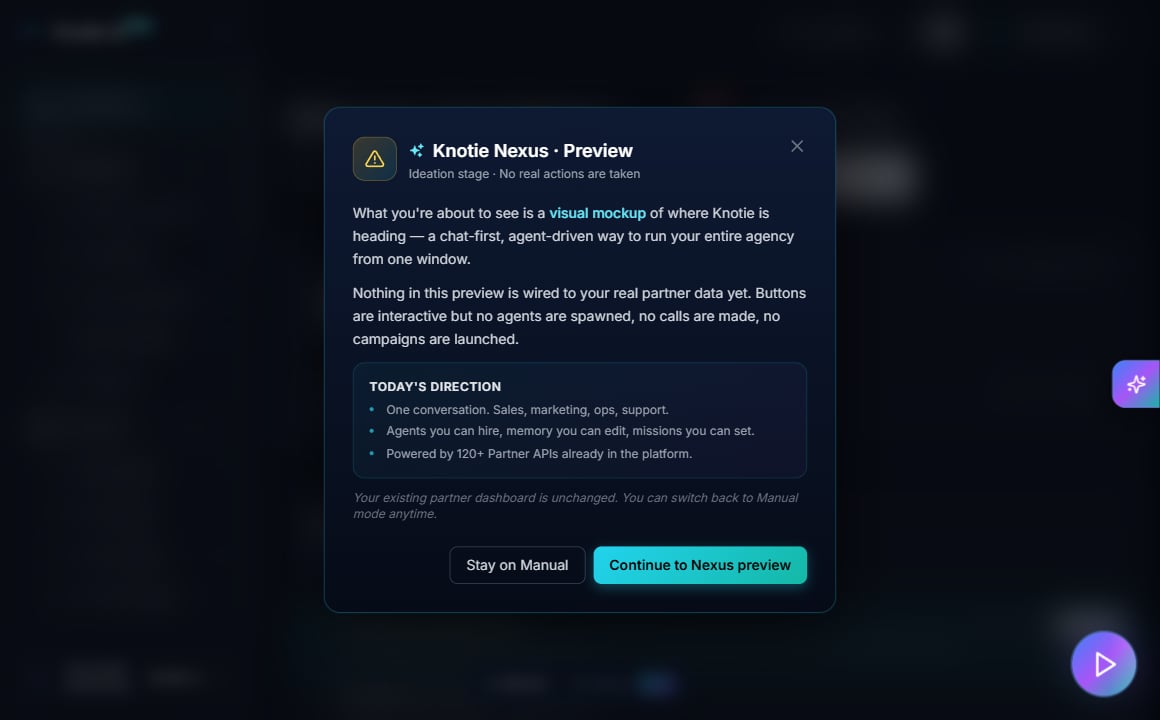
- Nexus — a preview of a new chat-first way to run your whole agency from one window. Choosing it opens the preview below.
Step 6 — Partner Dashboard & Your Onboarding Path
You’re now on the Partner Dashboard. Your onboarding is laid out as a series of levels — you complete short challenges to move from one level to the next.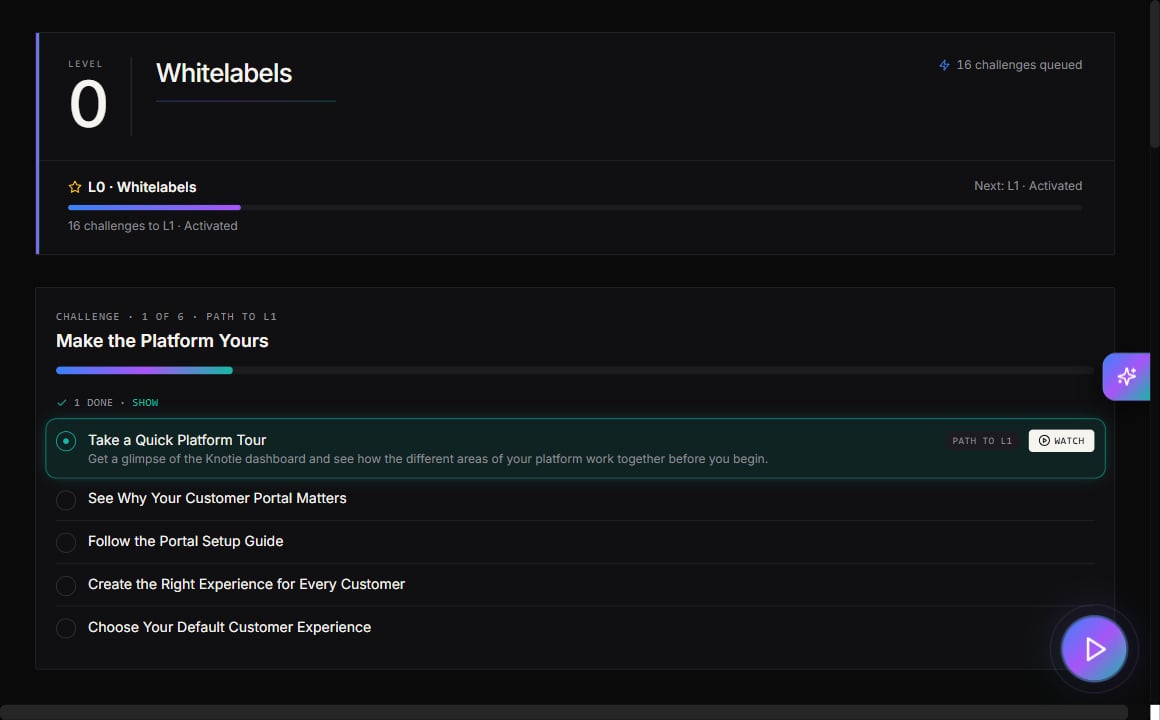
Your first challenge
You start at Level 0, with your first challenge — Make the Platform Yours — front and center. It walks you through a few quick steps to get set up:- Take a Quick Platform Tour — a short overview of how the dashboard fits together.
- See Why Your Customer Portal Matters — the value of your white-label portal.
- Follow the Portal Setup Guide — set up your portal.
- Create the Right Experience for Every Customer — tailor what customers see.
- Choose Your Default Customer Experience — pick the default portal experience for new customers.
What’s coming up next
Later levels guide you through the rest of your setup:- Onboard Your First Customer
- Launch Your First AI Agent
- Connect Stripe and Start Getting Paid
Progress is saved automatically — you can pick up where you left off across multiple sessions.
Quick Actions (Top of Dashboard)
- Pricing Calculator — estimate pricing for new customers
- Onboard New Customer — start the customer onboarding flow
Account Overview (Top-Right)
- Knotie Credits — your current balance (5,000 credits on signup)
- Telephony — call spend to date
- Auto-recharge — toggle auto-recharge settings
- Quick Buy Credits — purchase more credits
- Storage — portal storage used vs. allocated
Credential Reference
Sign out or switch accounts
Open your profile menu in the top-right corner and select Logout. If you have other Partner Portal tabs open, refresh or close them after signing out. To switch accounts, sign out first and then sign in with the other account. Use a separate browser profile when you need to keep two accounts open at the same time.Troubleshooting
From 10 October 2026: no password field on the login page- That’s expected — see Passwordless sign-in. Enter your email address and use your passkey, or the one-time link we email you.
- Check your email spelling — use the address from your welcome email
- Your temporary password expires after first use — must be changed immediately
- If you forgot your password, use “Forgot password?” to reset
- Use an authenticator app (Google Authenticator, Authy, etc.)
- Save the backup codes in a secure location — from 10 October 2026 these are your only fallback if you lose your authenticator, because MFA codes by email are being removed
- You can skip and enable MFA later from Settings → Profile Settings
- This is a loading screen — wait a few seconds
- If it persists more than 30s, refresh the page
- Progress saves automatically after each step
- If a step doesn’t save, try completing it again or refresh the dashboard