Overview
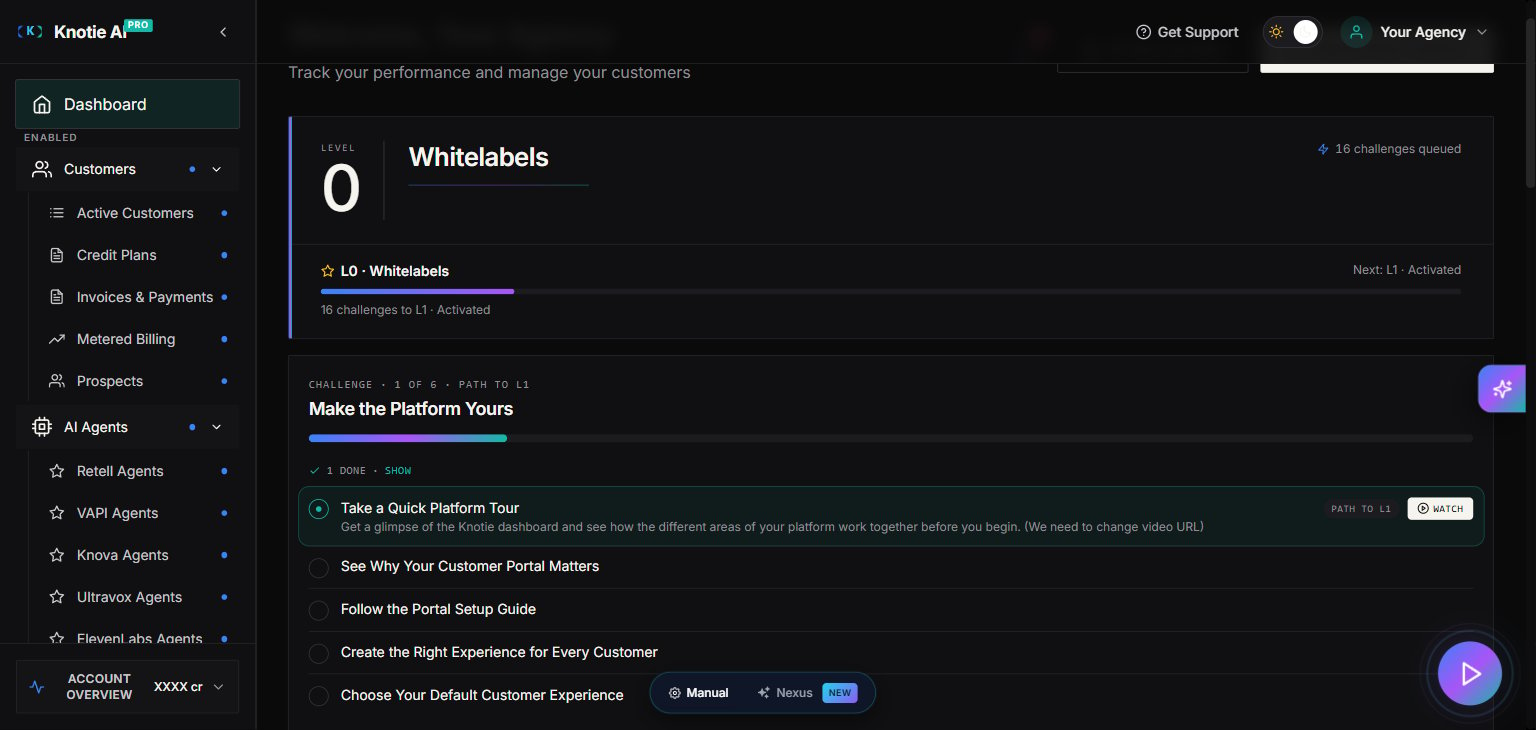
When you first log into the Partner Portal, you’ll be guided through two flows, in order:- Partner Onboarding Wizard — a short, full-screen popup that captures your agency profile (industries you serve, products you’ll sell, your AI comfort level, and your goal). It only runs once and shapes the rest of your experience.
- 6-Step Onboarding Checklist — the per-workspace setup tasks that take you from “blank portal” to “first paying customer.”
1. Partner Onboarding Wizard (one-time)
The wizard appears the first time you open the Partner Portal after signup. It walks you through 5 short steps:Your selections power the recommendations, prompts, and default views you see across the portal. The wizard only runs once — pick the options that best match your agency today. You can reach the team at support@knotie-ai.pro if you need help changing your selections later.
2. The 6 Onboarding Steps
After the wizard, work through these in order to set up your Knotie AI Pro workspace:1. Customize Your Pod
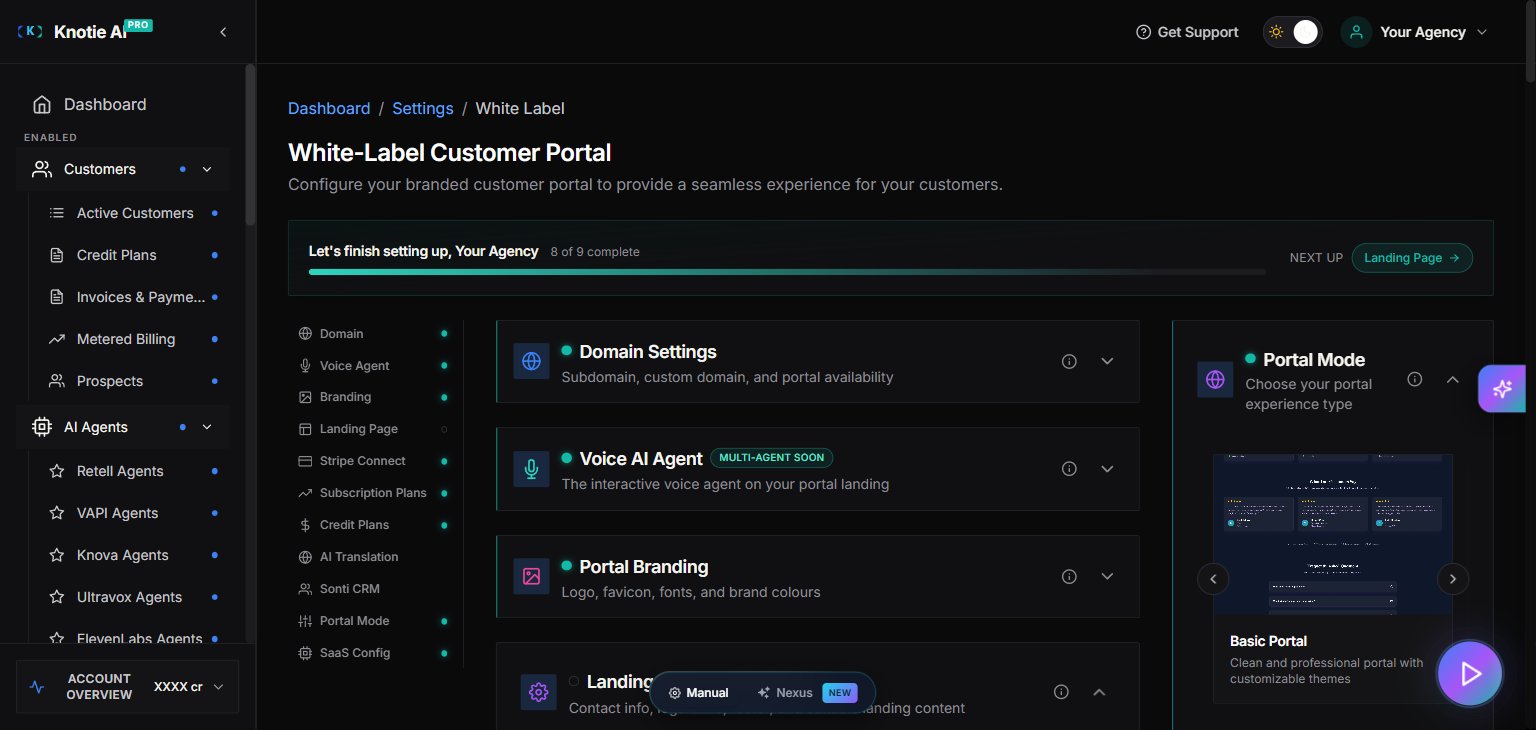
Go to Settings → White-Label Portal and configure your portal branding.2. Onboard Your First Customer
Navigate to Customers and use the Quick Onboard feature to add a customer.3. Import an Agent
Go to AI Agents and create or import your first agent (Retell or VAPI).4. Review Analytics
Visit Agent Analytics in the sidebar to confirm data is flowing and review your usage.5. Complete Email Whitelabeling
Go to Settings → Email Domain Management and configure your custom email domain.6. Set Up Payments
Navigate to Settings and connect Stripe when you’re ready to start charging customers.Helpful Tips
Work at your own pace: Your progress is automatically saved, so you can complete the checklist gradually across multiple sessions. Already completed the wizard? The progress bar at the top of the dashboard tracks your 6-step checklist. If you skipped the wizard on first login, the wizard will keep re-appearing on the dashboard until you finish it.Screenshots