Overview
This guide walks you through creating your Knotie AI partner account. You sign up from the Knotie AI Pro website (knotie-ai.pro). Click any “Get started” button and a signup form opens right on the page.The standalone Pricing page has been removed. You no longer choose a plan before creating your account. Instead, every new signup starts with a Free Forever account and is offered a 7-day free trial of premium features immediately after registration.
Steps
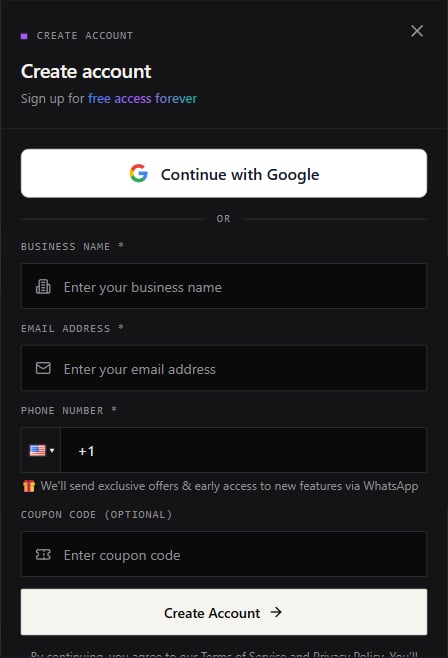
- Open knotie-ai.pro and click Start for free (or any “Get started” button).
- A Create Account modal opens. Fill in:
- Business name
- Email address
- Phone number (used for WhatsApp updates on exclusive offers)
- (Optional) Enter a coupon code if you have one. The coupon is validated instantly — a green check and description appear when the code is accepted.
- Click Create Account.
- After the account is created, you’ll see the 7-Day Free Trial confirmation showing a “Free Forever — 7-day premium trial” summary and $0 today. It lists every premium feature you unlock for the trial.
- Click Start 7-Day Free Trial. You’ll be taken to a secure payment page to add a card for verification — no charge is made today.
- After adding your card, use Partner Login to access your dashboard.
What the 7-day trial includes
During the trial you have full access to all premium features:- All AI voice providers (VAPI, Retell, LiveKit, Ultravox)
- Unlimited customers and agents
- Advanced integrations and analytics
- Priority support
Google signup (if enabled)
If your platform has Google auth enabled, you’ll see a Continue with Google button at the top of the signup modal. After signing in with Google, the form shows your Google name and photo already filled in. You still need to provide:- Business name
- Phone number
What happens next
After your first login, Knotie AI may prompt you to set up a passkey (“Secure Your Account”) before you reach the dashboard. You may also be asked to enable extra sign-in security (MFA) under Settings → Profile Settings.A note on the email field
You don’t need to worry about extra spaces in your email address. If your phone keyboard or browser autofill adds a trailing space, the form removes it for you automatically.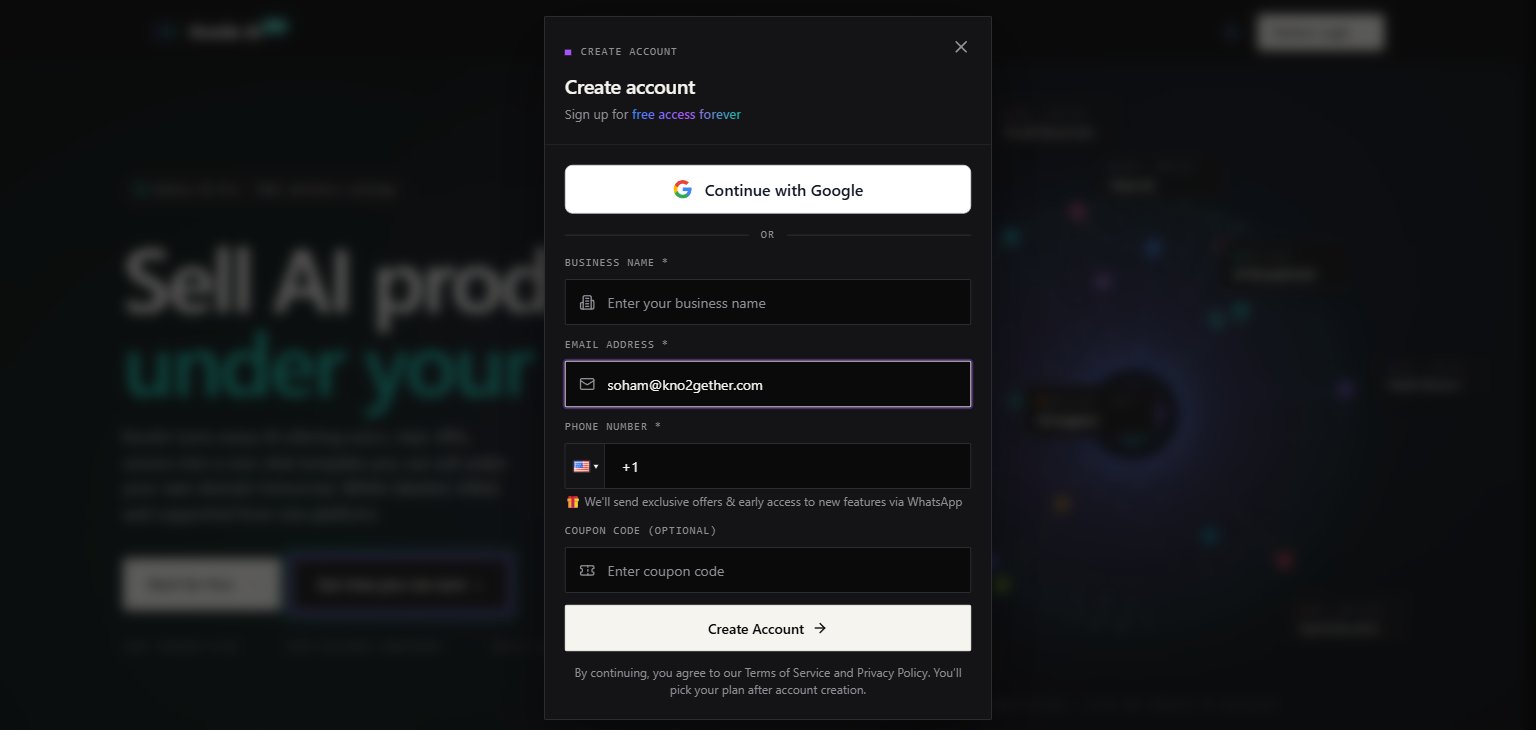
Screenshots
Troubleshooting
- Signup modal doesn’t appear — try disabling browser extensions that block pop-ups or modals.
- No confirmation email — check your spam folder and verify the email address you entered.
- Coupon code not accepted — the code is entered in uppercase automatically. If the error persists, the code may be expired or already used.
- Card declined — use a valid card for the $0 verification. Prepaid cards may be rejected.
- For issues with Google signup — ensure your browser is signed into a Google account and that pop-ups are allowed.