What a custom domain does
A custom domain lets your customer sign in to the portal on their own branded URL (for example, portal.customer.com).
Please note that this is a Premium Feature and is not available under the Free Forever tier.
Before you start
- Make sure you are able to edit DNS records for the domain.
- Pick a subdomain for the portal (recommended), such as:
portal.customer.comsupport.customer.com
Add the domain in Knotie AI Pro
- In the Partner Portal, open Settings.
- Go to White-Label Portal.
- Expand the Domain section in the left navigation panel.
- Enter your customer’s portal domain (for example,
portal.customer.com).
- Click Save.
Knotie AI Pro will show the DNS records you need to add.
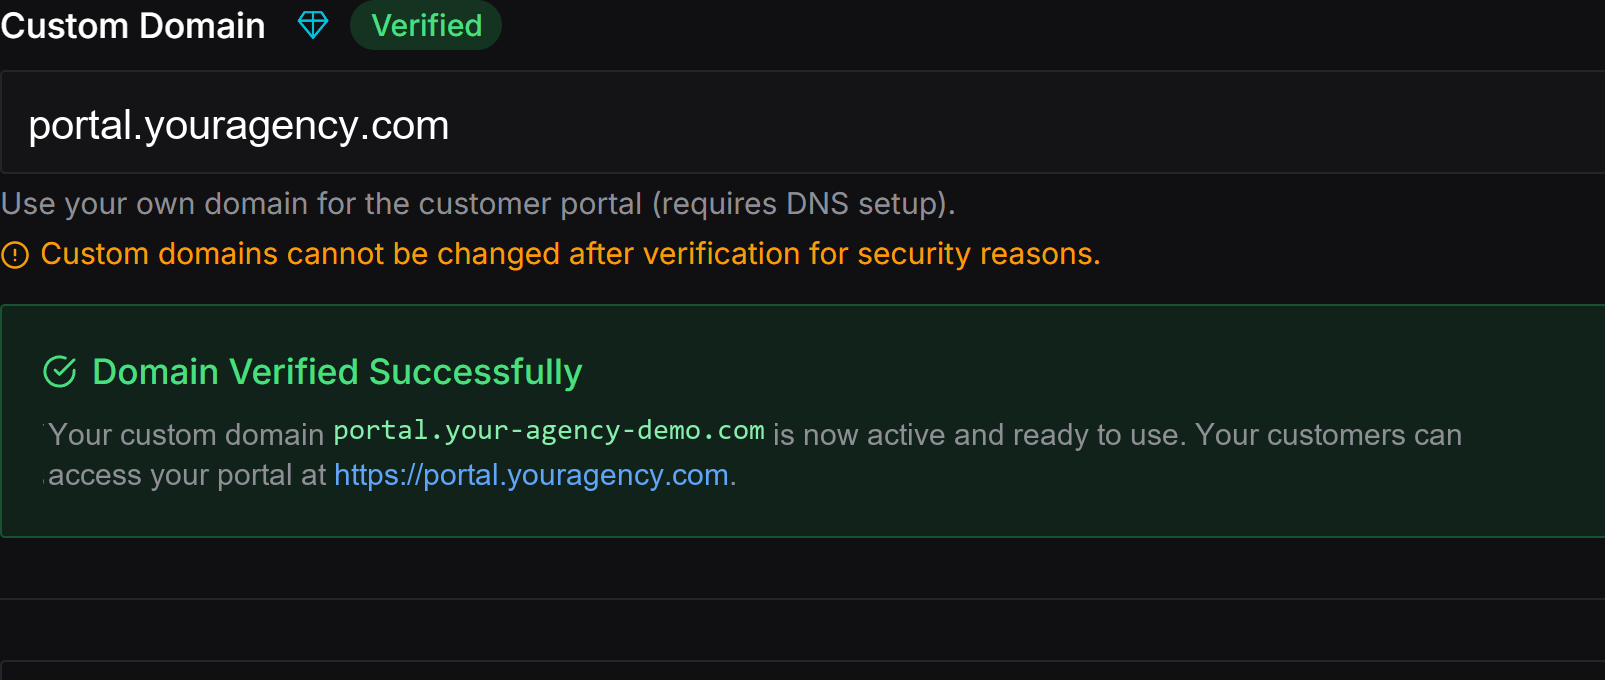
Custom domains cannot be changed after verification for security reasons. Once verified, the custom domain field becomes disabled. Choose your domain carefully before verifying.
Add the DNS records
- Open the DNS provider for the domain (Cloudflare, GoDaddy, Namecheap, etc.).
- Copy the DNS record(s) shown in Knotie AI exactly.
- Paste them into the DNS provider:
- Make sure the Host/Name matches (for example
portal).
- Make sure the Value/Target matches.
- If a record includes a trailing dot, keep it.
- Save the changes.
Verify the domain
- Back in Knotie AI Pro, click Verify Domain in the Domain Settings section.
- Wait for the status to change to verified.
- Open the portal URL in an incognito window and confirm:
- The portal loads.
- Sign-in works.
- Branding is correct.
Troubleshooting
- Verification fails immediately
- Re-check for typos in the record value.
- Confirm you didn’t add the record to the wrong domain.
- Verification is “pending” for a while
- DNS can take time to propagate. Wait a bit and try again.
- Portal loads but shows the wrong thing
- Clear cache or test in an incognito window.
- Confirm you used the exact subdomain you verified.
- Custom domain field is disabled
- Custom domains are immutable after verification. Contact support if you need to change it.
Screenshots