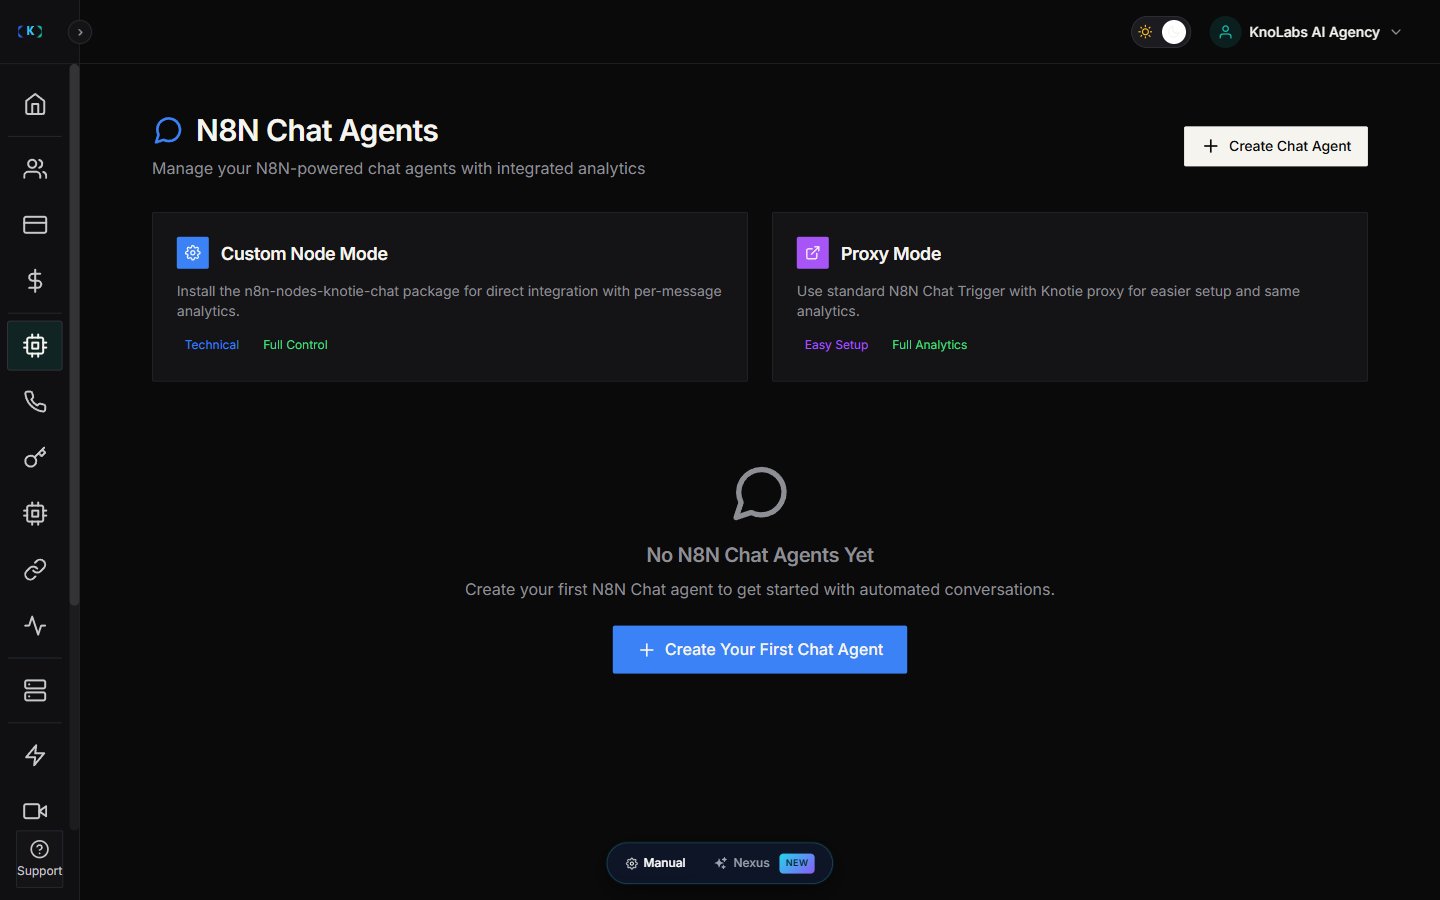
What N8N Chat Agents are
N8N Chat Agents let you create a chat assistant that runs on an N8N workflow. Use cases:- Website chat support
- Lead qualification
- FAQ + routing
Where to find it
- Open AI Agents (in the main sidebar).
- Expand the Chat Agents sub-group.
- Click the N8N Chat Agents card.
Create a chat agent
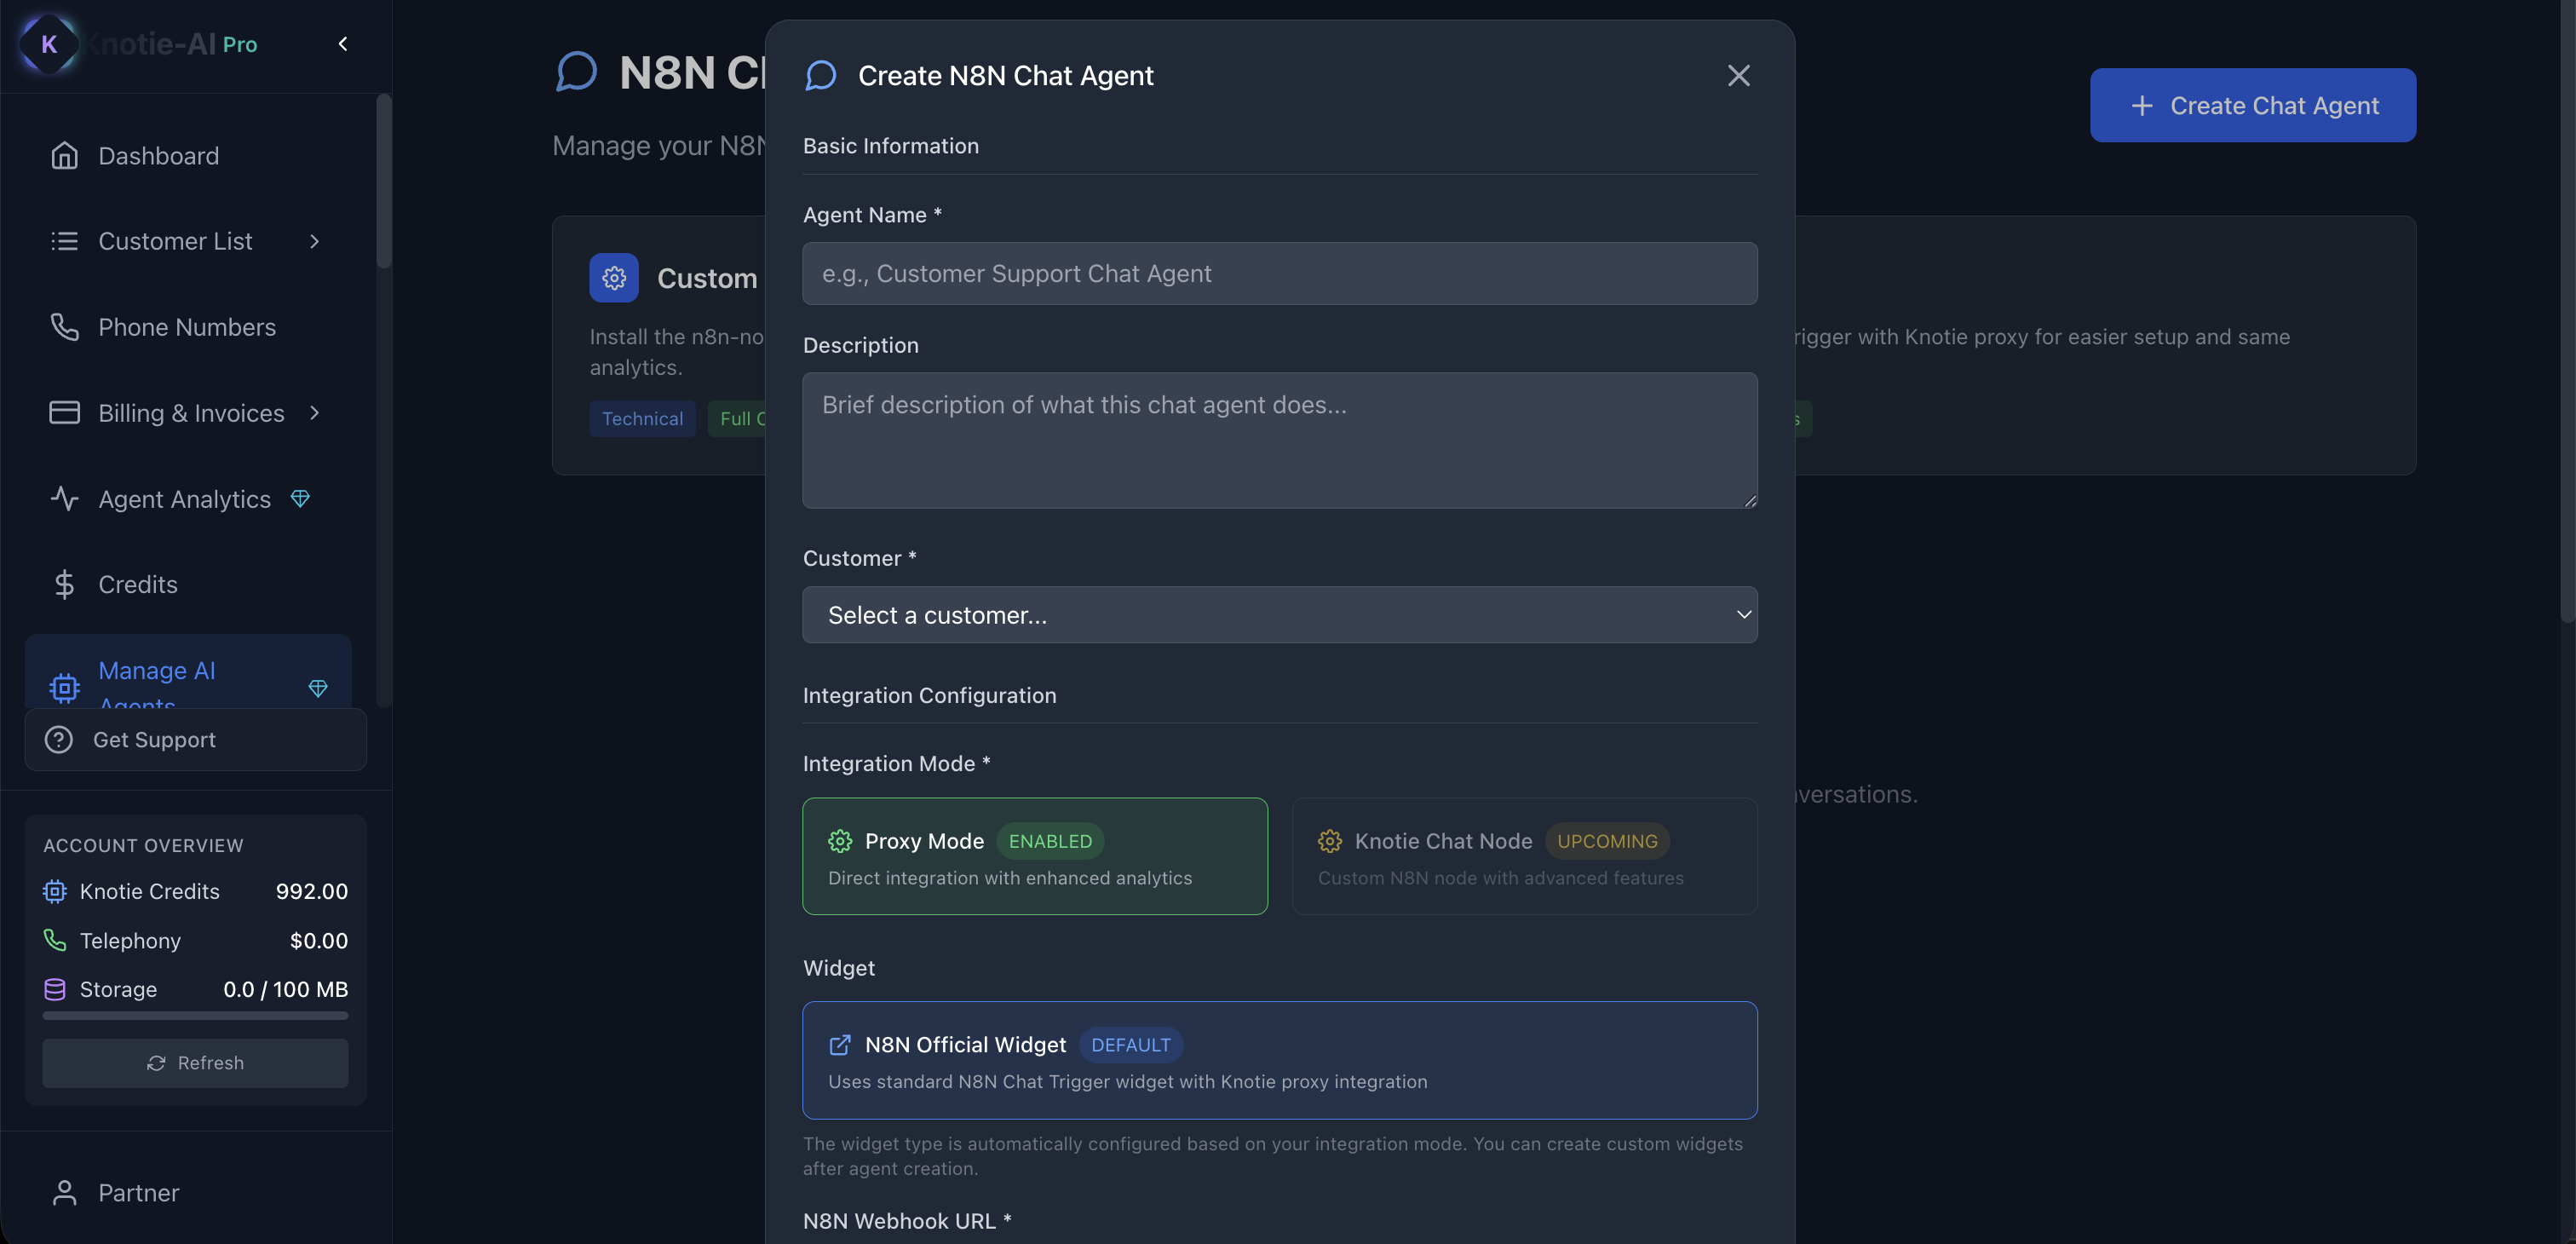
- Click Create Chat Agent (the create button on the page).
- Fill in Agent Name and (optionally) a Description.
- Choose the Customer (required).
- Pick an Integration Mode. The modal currently offers two:
- Proxy Mode — labelled ENABLED; “Direct integration with enhanced analytics”. This is the only mode you can select today, and it uses the N8N Official Widget by default.
- Knotie Chat Node — labelled UPCOMING; “Custom N8N node with advanced features”. Not yet selectable.
- Paste your N8N Webhook URL (your N8N Chat Trigger webhook) and note the Webhook Secret / Basic Auth credentials shown in the modal.
- Optionally set a Billing Mode (Per Conversation, Per Message Exchange, Per 10 Messages, or Per Minute) and Status, then save.
Proxy Mode is currently the only enabled integration mode — Knotie Chat Node shows an UPCOMING badge and can’t be picked yet. If you need the custom-node integration, check back later or contact Knotie support for availability.
Connect your webhook
If your agent uses a webhook URL:- Copy the webhook URL from the agent settings.
- Paste it into your N8N workflow trigger.
Generate a widget
Many teams embed chat agents as widgets.- Open the agent actions.
- Choose the widget option.
- Copy the embed snippet.
Edit or delete
Use the actions menu to:- Edit agent settings
- Delete an agent
Troubleshooting
- Create is blocked by plan limits
- Upgrade prompts can appear if you hit plan limits.
Screenshots