

Open the app selector
- In the Partner Portal, open Customers → Active Customers.
- Find the customer and click Manage.
- Open Features & Add-ons.
- Turn on Integration under Menu Visibility Options.
- Click Edit Apps.
Choose apps
The selector groups apps as Free, Premium, and Standard. Some apps also carry Beta or Alpha labels so you can set expectations with the customer.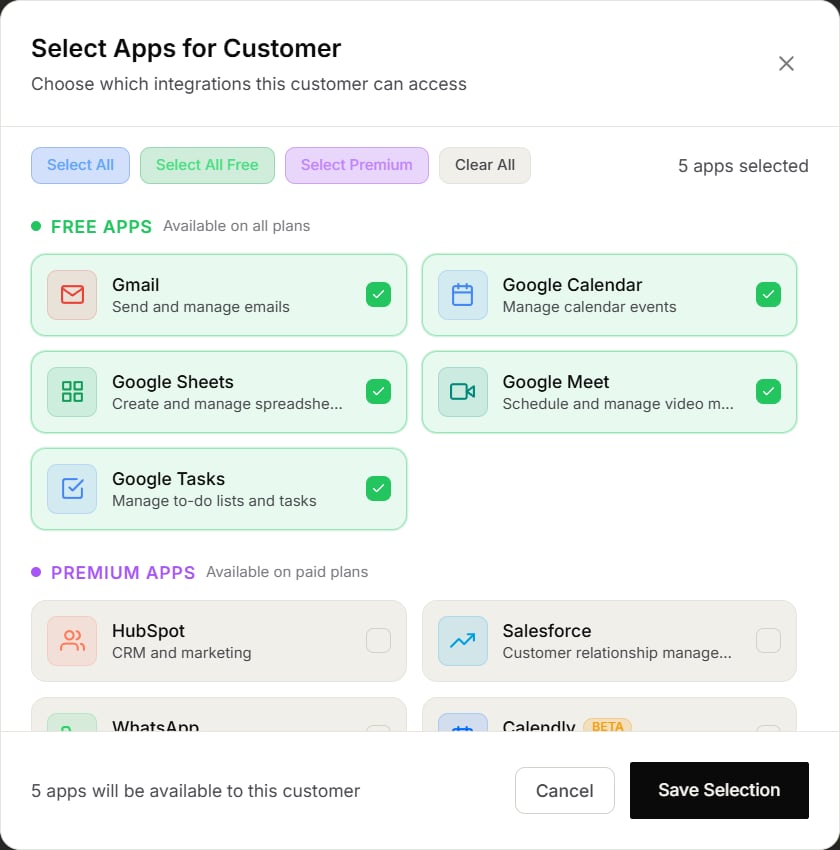
Turning on the Integration menu and choosing apps are separate steps. Complete both so the customer can find the integrations you selected.
Change access later
Return to Features & Add-ons → Edit Apps, update the selection, and save again. Removing an app from the allowed list removes it from the customer’s available choices.Microsoft Outlook
Outlook is in the Premium Apps list with a Beta label. It lets agents send and manage email and calendar events in Microsoft 365 and Outlook.com accounts. Select Outlook and save the app list to make it available. The customer then connects their Microsoft account from their portal, using Microsoft’s own sign-in page.Outlook and Gmail are separate apps. Customers on Microsoft 365 should connect Outlook; customers on Google Workspace should connect Gmail. You can offer both. For other email providers, offer Email (any mailbox).
FreeAgent
FreeAgent appears in the Premium Apps list with a Beta label. It is described in the portal as accounting, invoicing, and expense support for freelancers and small businesses.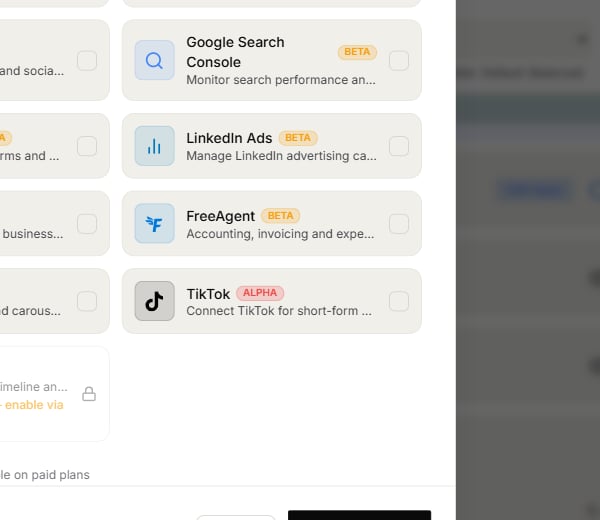
Selecting an app controls availability. The customer must still connect their own account before an agent can use it.
Give many customers the same apps
Instead of choosing apps for each customer, you can set one list for all of them in Settings → Integration Pricing → Apps for your customers. See Apps for your customers. A list you choose here for one customer always takes priority over that shared list.What customers see with no apps
If Integration is on for a customer but no apps have been chosen for them, their Integration page says No apps are enabled for your account yet, with a Request an app button. Requests are emailed to you — see Integration app requests.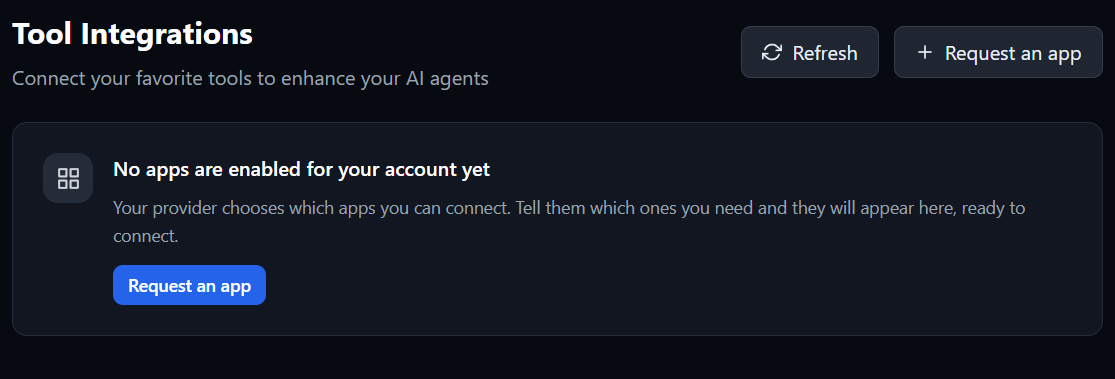
Integration works in every dashboard mode
You can offer Integration whichever dashboard mode your portal uses. In Platform configuration, Integration and MCP Access & Approvals have their own Integrations & Approvals group in the default menu.Free Forever plan
Partners on the Free Forever plan can only offer free apps. Other apps show as not available on the plan until the partner upgrades.If a customer cannot find an app
- Confirm Integration is turned on for that customer.
- Confirm the app is selected in Edit Apps, or is on your Apps for your customers list.
- Check the app’s plan group and its Alpha or Beta label.
- Ask the customer to refresh their portal after you save.