

Open the controls
- Open Customers → Active Customers.
- Select Manage for a customer.
- Open Features & Add-ons.
Add-on features
The current production panel includes controls for advanced call analysis, API access, and premium add-ons. Knowledge Base Processing is visible but marked Coming soon. Some customer controls depend on a partner-level setting. If a switch is unavailable, enable the related service in your partner settings first.Credits and pricing
Use AI Credits Enabled to charge the customer with credits. The same section can control integration charges, low-credit notifications, and which credit plans the customer sees. When credit billing is enabled, pricing display and AI Gateway availability follow the options shown in the panel. Charge for integrations can inherit the partner setting or be set to On or Off for this customer. It applies only while AI credit billing is enabled. Configure the partner default under Settings → Integration Pricing.Customer portal sections
The menu controls currently include:- Knowledge Base, integrations, Docs & Media, and Social Planner
- Phone Numbers, Campaigns, API Keys, and AI Gateway
- AI Memory, MCP Access, and curated marketplace solutions
- Media Studio, Website Studio, and AI Agents
- browser access to a customer’s server
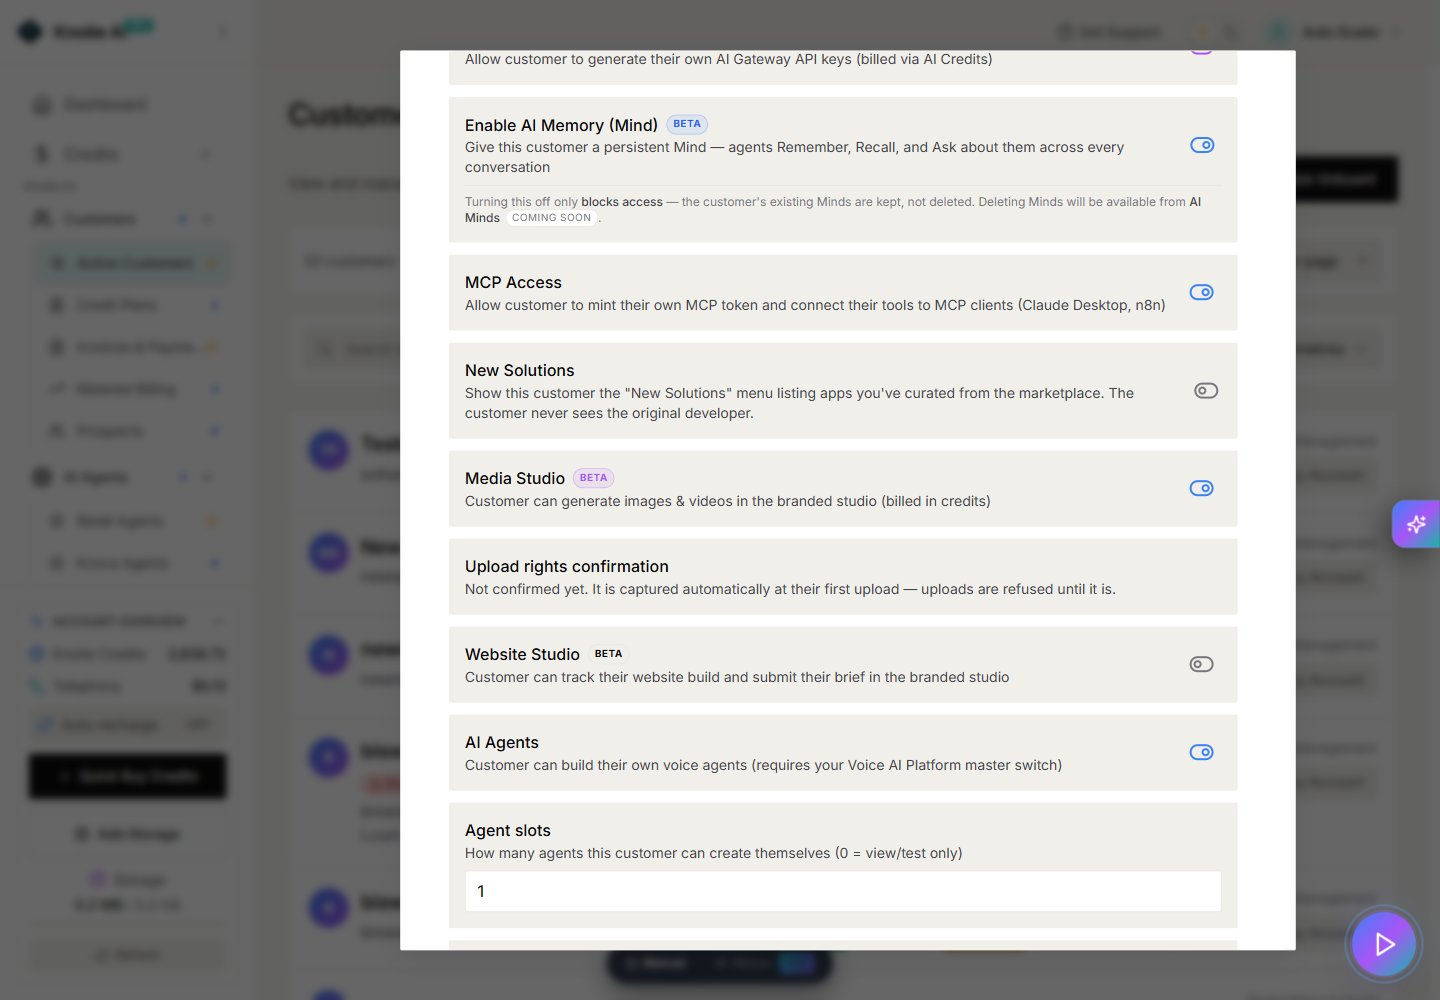
Media Studio
Turn on Media Studio to let the customer create images and videos. Upload access is confirmed automatically when the customer first uploads a file.Website Studio
Turn on Website Studio to let the customer submit a website brief and follow the build in their portal. The main Website Studio experience must also be enabled.AI Agents
Turn on AI Agents to let the customer use the self-service Voice AI Platform. Use Agent slots to limit how many agents they can create;0 means view and test only.
Campaigns
Turn on Outbound Campaigns to show the campaign area where the customer can upload prospects and review results. The partner defaults under Settings → Platform Configuration also include Create & Run Campaigns for customers who should build, start, and pause their own campaigns. When creating a campaign in the Partner Portal, choose a customer in the first step to show the campaign in that customer’s portal. The same step lets you allow that customer to upload prospects.Customer VPS controls
The same panel can:- allow a customer to buy managed servers
- set a customer-specific margin
- inherit, show, or hide the One-Click Apps section
- allow browser-based server access