> ## Documentation Index
> Fetch the complete documentation index at: https://docs.knotie-ai.pro/llms.txt
> Use this file to discover all available pages before exploring further.
# Developer Console
> Publish AI solutions to the Knotie AI Pro Marketplace, manage listings, track earnings, and handle buyer requests from a dedicated developer portal.
## What the Developer Console is
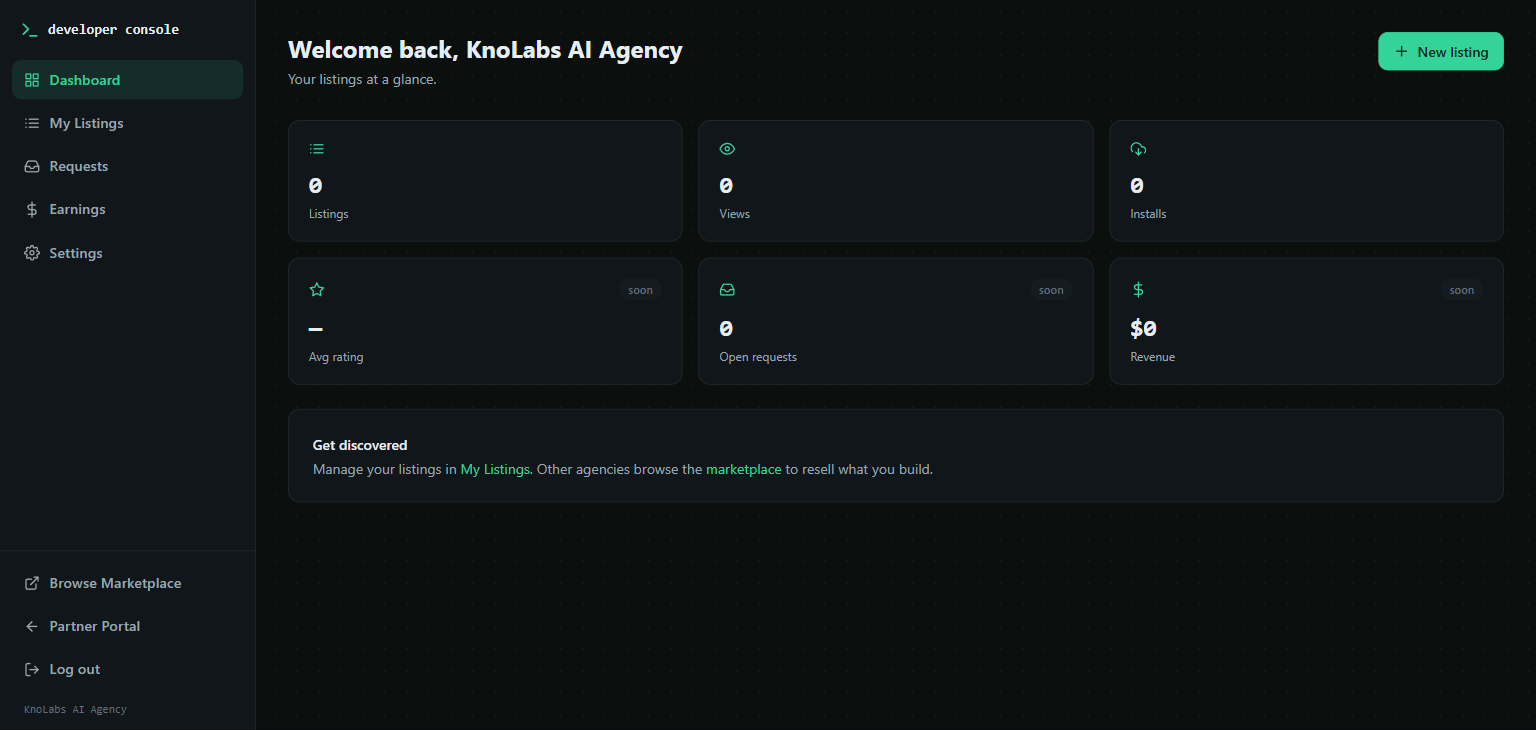
The **Developer Console** is a standalone portal for partners who want to build and sell AI solutions to other Knotie AI Pro partners. It is separate from the main Partner Portal — it has its own navigation, terminal-style theme, and role: you are the developer/seller here, not the agency owner.
Access the Developer Console at `/developer` (or via the Partner Portal → **Developer Console** in the sidebar).
 ## Prerequisites
Before you can list anything, you must:
1. **Connect Stripe** — Go to [Partner Settings → Stripe Connect](/partner-portal/settings/stripe-connect) and connect your Stripe account. This is required to receive payments for priced listings.
2. **Accept the Developer Agreement** — The first time you open the Developer Console, a full-screen agreement gate presents the platform terms (including the shared-responsibility model and the requirement that all payments run through the Knotie platform). You must accept to proceed. If the terms are updated, you'll be prompted to re-accept.
The Developer Agreement only appears if you haven't accepted the current terms. Once you accept, it won't show again unless the terms are later updated.
## Creating a listing
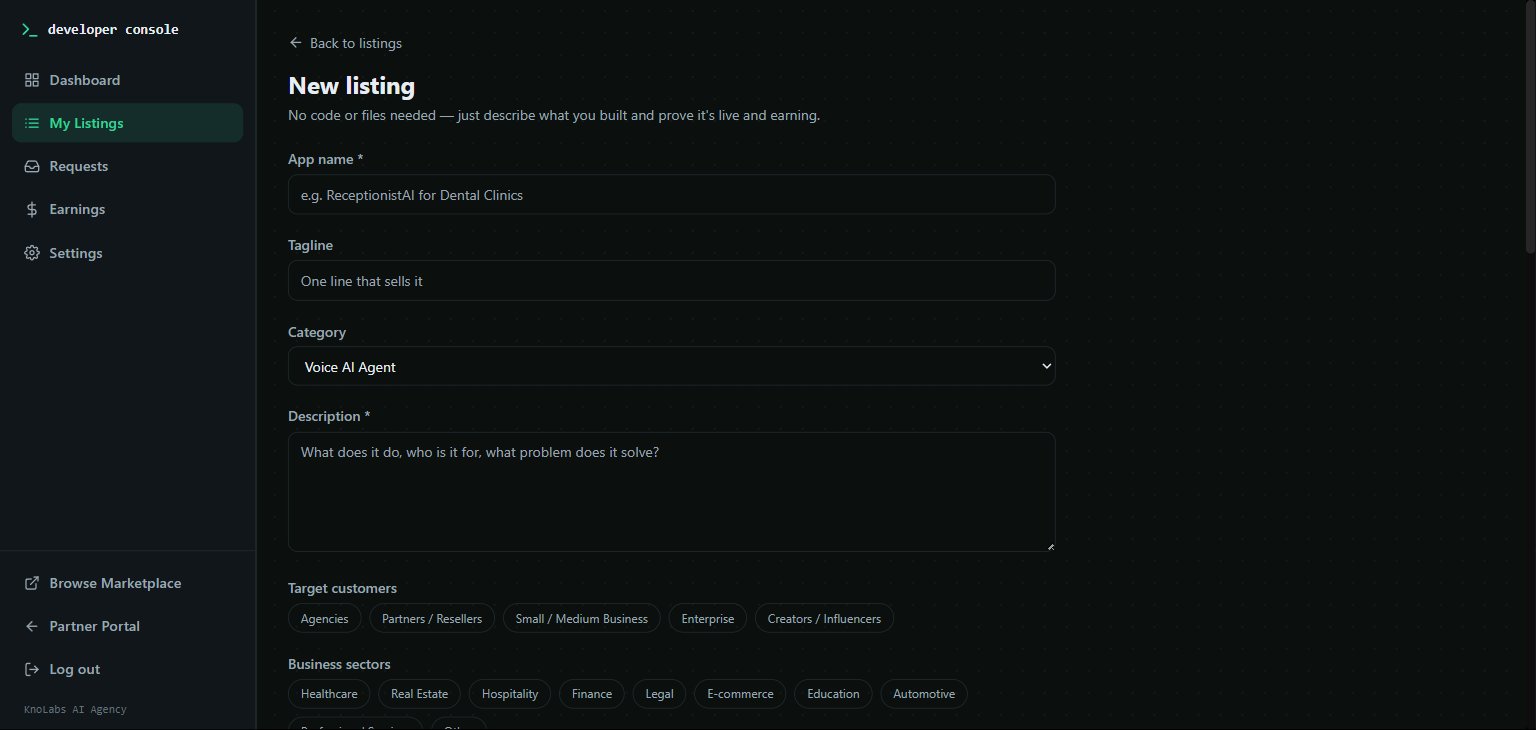
1. In the Developer Console sidebar, go to **Listings → New Listing**.
2. Fill in the listing details:
* **Name** — Public-facing title of your solution
* **Description** — Markdown-supported description of what it does and why partners should use it
* **Category** — Helps buyers find your listing
3. **Save as draft** before setting a price (required).
## Prerequisites
Before you can list anything, you must:
1. **Connect Stripe** — Go to [Partner Settings → Stripe Connect](/partner-portal/settings/stripe-connect) and connect your Stripe account. This is required to receive payments for priced listings.
2. **Accept the Developer Agreement** — The first time you open the Developer Console, a full-screen agreement gate presents the platform terms (including the shared-responsibility model and the requirement that all payments run through the Knotie platform). You must accept to proceed. If the terms are updated, you'll be prompted to re-accept.
The Developer Agreement only appears if you haven't accepted the current terms. Once you accept, it won't show again unless the terms are later updated.
## Creating a listing
1. In the Developer Console sidebar, go to **Listings → New Listing**.
2. Fill in the listing details:
* **Name** — Public-facing title of your solution
* **Description** — Markdown-supported description of what it does and why partners should use it
* **Category** — Helps buyers find your listing
3. **Save as draft** before setting a price (required).
 ### Setting a price
After saving a draft, the **Pricing** section unlocks (only if your Stripe account has charges enabled):
| Pricing type | How to set it |
| ------------- | ---------------------------------------------------------------------------------------------------- |
| **Free** | Select Free — no Stripe setup required |
| **One-time** | Enter a price; a matching product is set up on your connected Stripe account |
| **Recurring** | Enter a price and select monthly or annual; a matching subscription is set up on your Stripe account |
If your Stripe account does not have charges enabled, the pricing controls are hidden and the listing will be free until you complete Stripe setup.
### Adding media
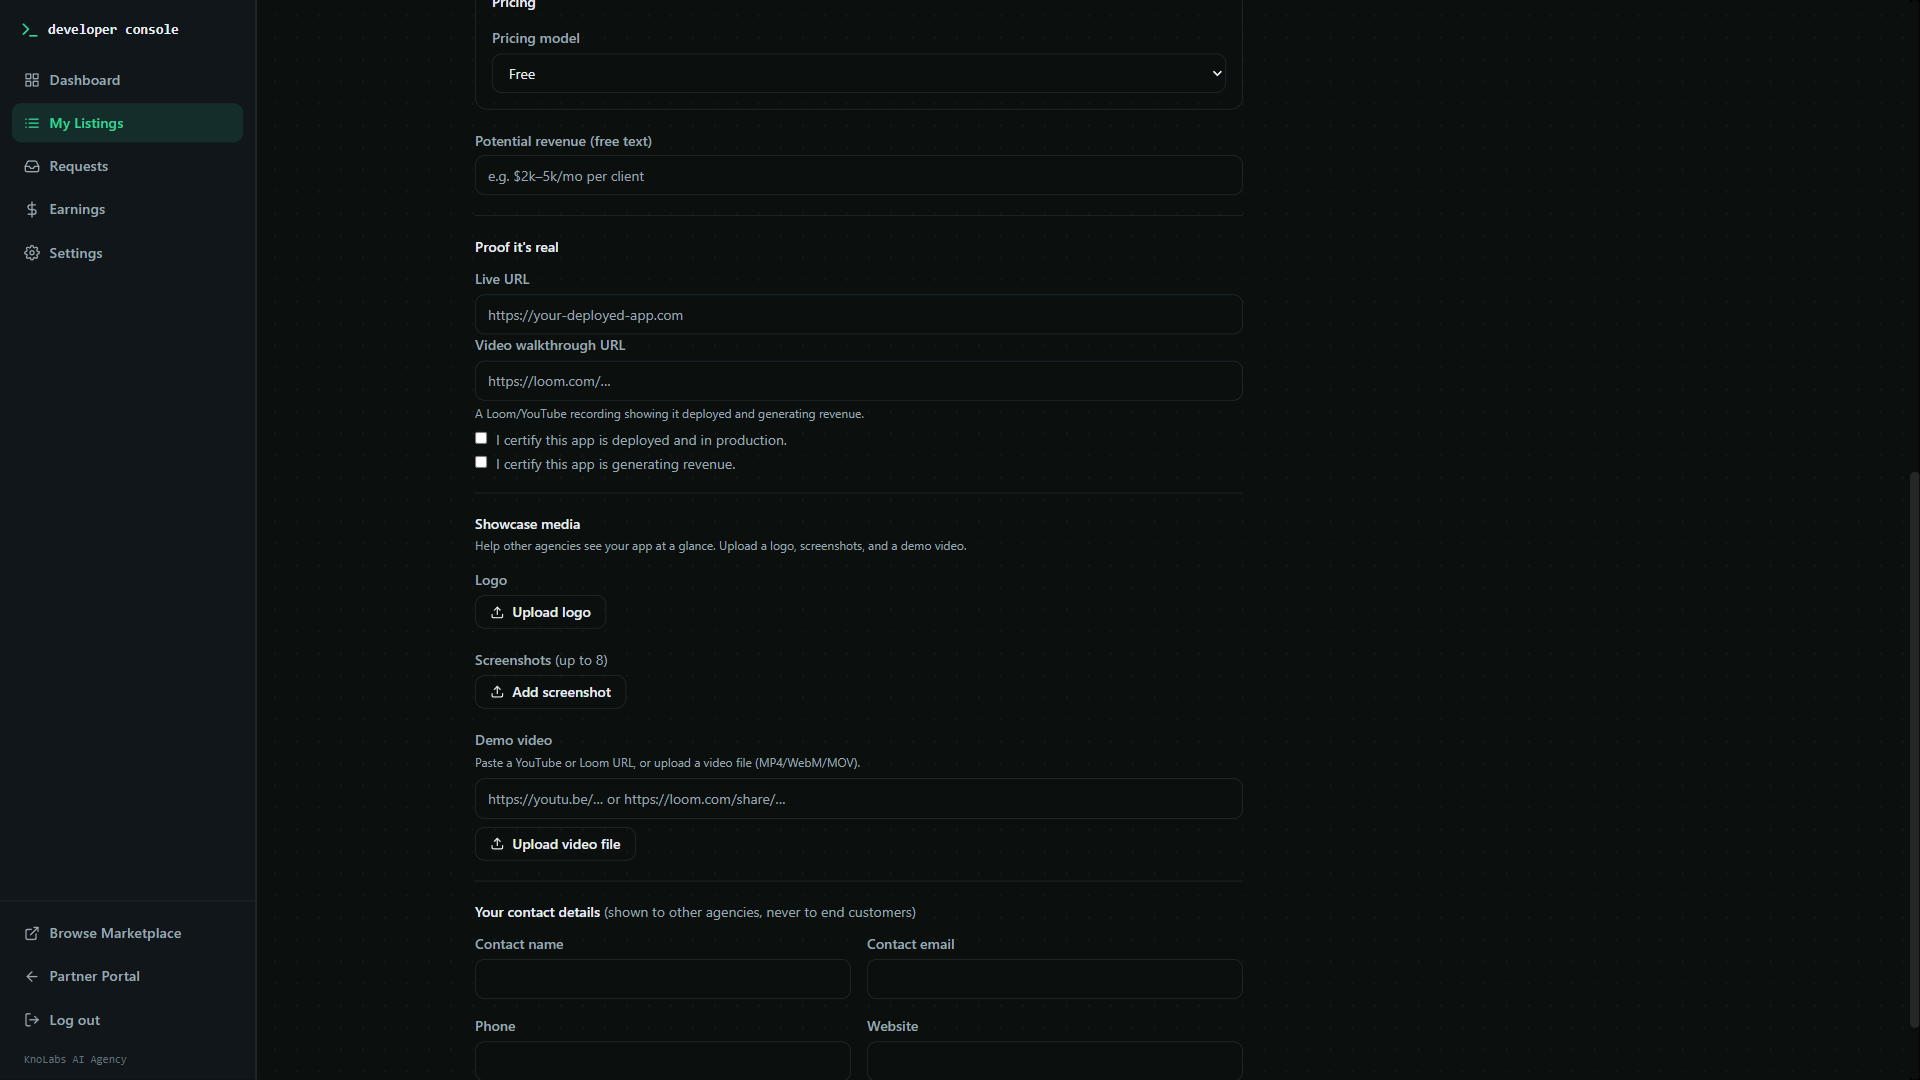
Make your listing stand out with rich media:
* **Product images** — Add several images to showcase your solution
* **Logo** — A square logo that appears on listing cards in the marketplace
* **Video** — Paste a YouTube or Loom URL, or upload a short video clip directly
All media is stored securely against your account. Customers browsing the marketplace see only the public listing — your cost, margins, and account details are never exposed.
### Setting a price
After saving a draft, the **Pricing** section unlocks (only if your Stripe account has charges enabled):
| Pricing type | How to set it |
| ------------- | ---------------------------------------------------------------------------------------------------- |
| **Free** | Select Free — no Stripe setup required |
| **One-time** | Enter a price; a matching product is set up on your connected Stripe account |
| **Recurring** | Enter a price and select monthly or annual; a matching subscription is set up on your Stripe account |
If your Stripe account does not have charges enabled, the pricing controls are hidden and the listing will be free until you complete Stripe setup.
### Adding media
Make your listing stand out with rich media:
* **Product images** — Add several images to showcase your solution
* **Logo** — A square logo that appears on listing cards in the marketplace
* **Video** — Paste a YouTube or Loom URL, or upload a short video clip directly
All media is stored securely against your account. Customers browsing the marketplace see only the public listing — your cost, margins, and account details are never exposed.
 ### Publishing a listing
Once your listing is complete, click **Publish**. Published listings appear in the public marketplace immediately. You can unpublish at any time to take a listing offline.
## Managing your listings
In **Listings**, your dashboard shows:
* Total active listings
* Total revenue earned
* Average rating
* Per-listing analytics (views, purchases, conversion)
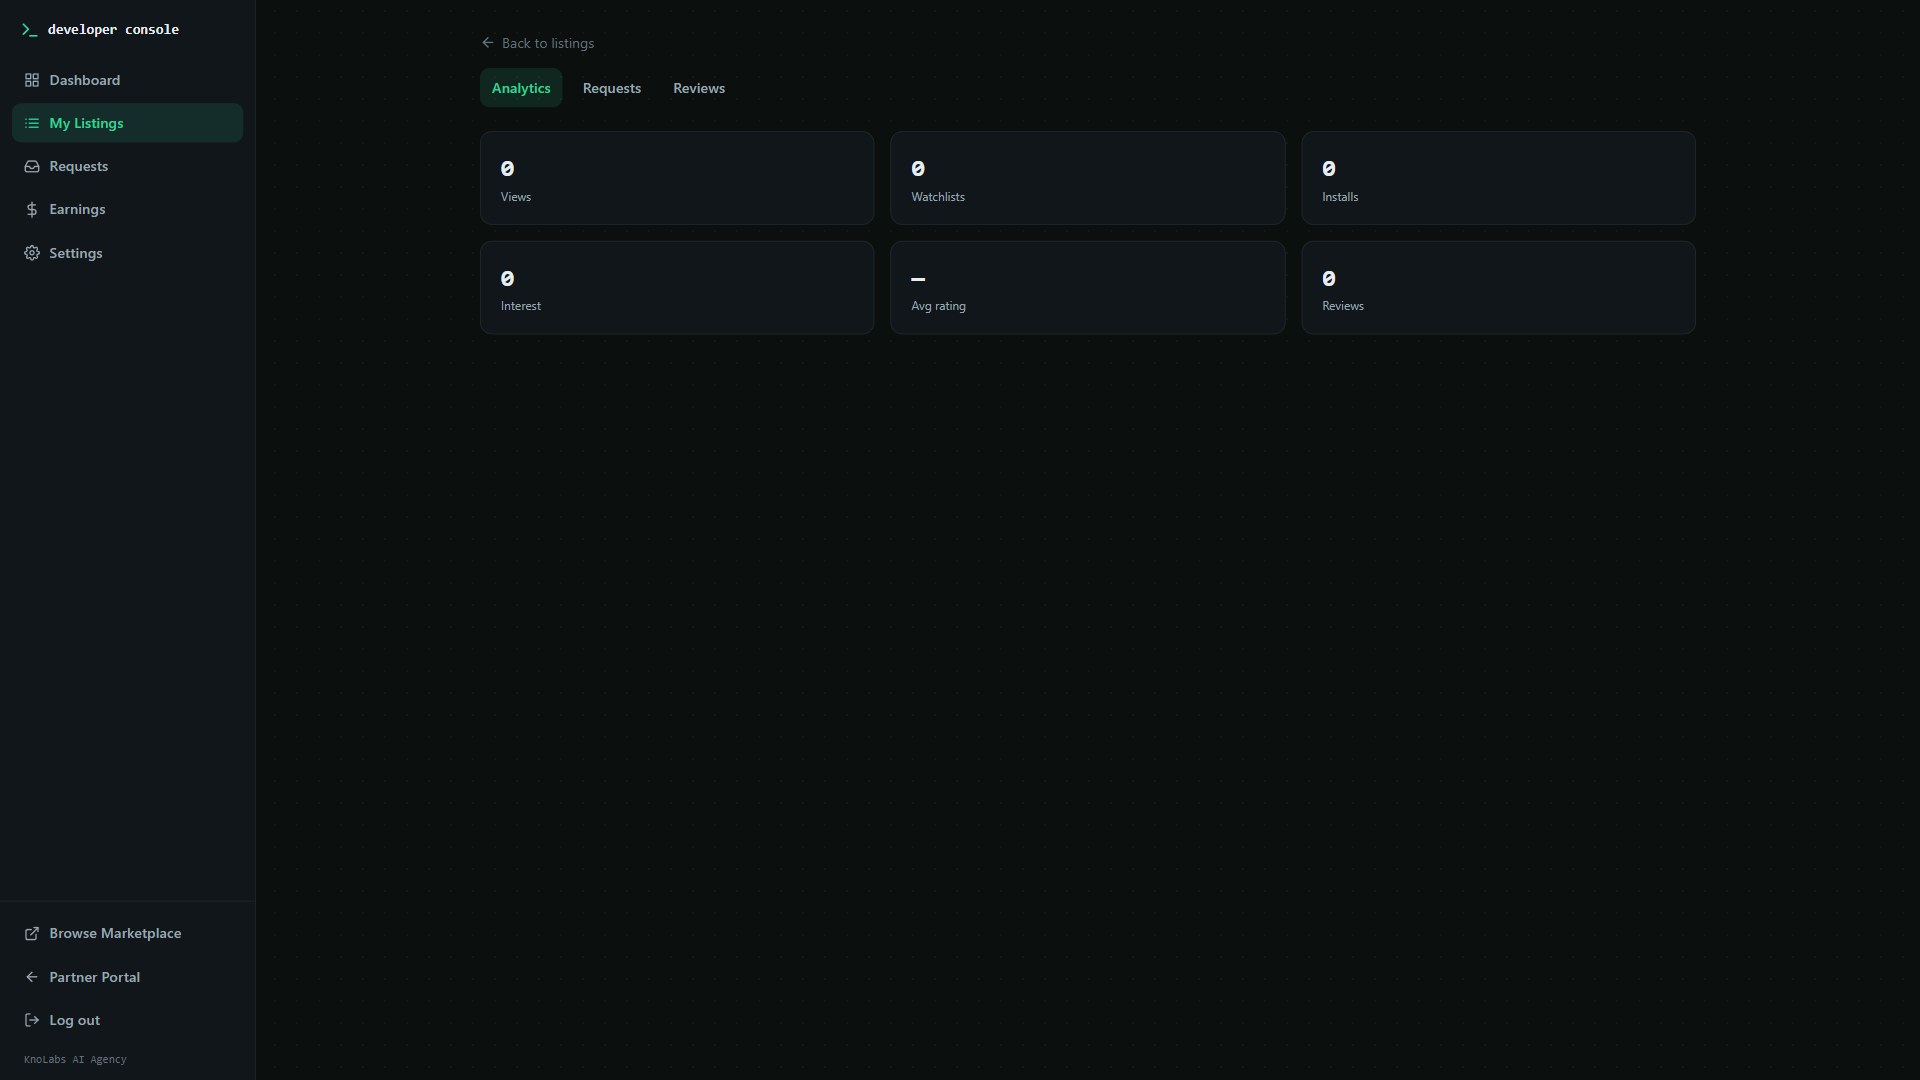
Click any listing to open the **listing detail** panel, which has four tabs:
| Tab | What it shows |
| ------------- | ------------------------------------------- |
| **Overview** | Edit listing details, pricing, and media |
| **Analytics** | Views, purchases, conversion rate over time |
| **Requests** | Questions and support requests from buyers |
| **Reviews** | Buyer ratings and comments |
### Publishing a listing
Once your listing is complete, click **Publish**. Published listings appear in the public marketplace immediately. You can unpublish at any time to take a listing offline.
## Managing your listings
In **Listings**, your dashboard shows:
* Total active listings
* Total revenue earned
* Average rating
* Per-listing analytics (views, purchases, conversion)
Click any listing to open the **listing detail** panel, which has four tabs:
| Tab | What it shows |
| ------------- | ------------------------------------------- |
| **Overview** | Edit listing details, pricing, and media |
| **Analytics** | Views, purchases, conversion rate over time |
| **Requests** | Questions and support requests from buyers |
| **Reviews** | Buyer ratings and comments |
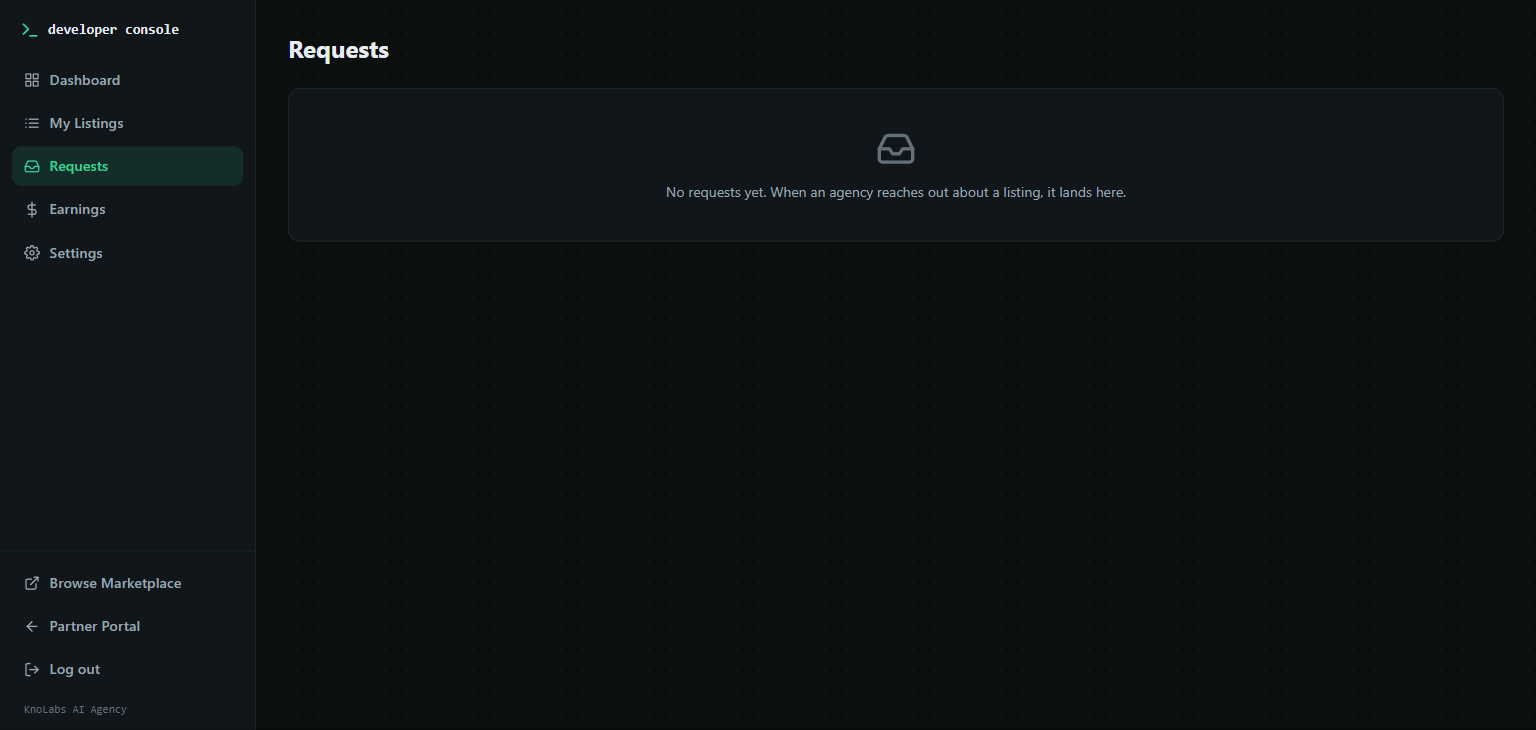
 ## Handling buyer requests
When a buyer submits a request or question about your listing, it appears in:
* The **Requests** tab of that listing
* The **Requests Inbox** in the Developer Console sidebar (shows all pending requests across all listings)
Reply directly from the Requests inbox. Unanswered requests are flagged to prompt timely responses.
## Handling buyer requests
When a buyer submits a request or question about your listing, it appears in:
* The **Requests** tab of that listing
* The **Requests Inbox** in the Developer Console sidebar (shows all pending requests across all listings)
Reply directly from the Requests inbox. Unanswered requests are flagged to prompt timely responses.
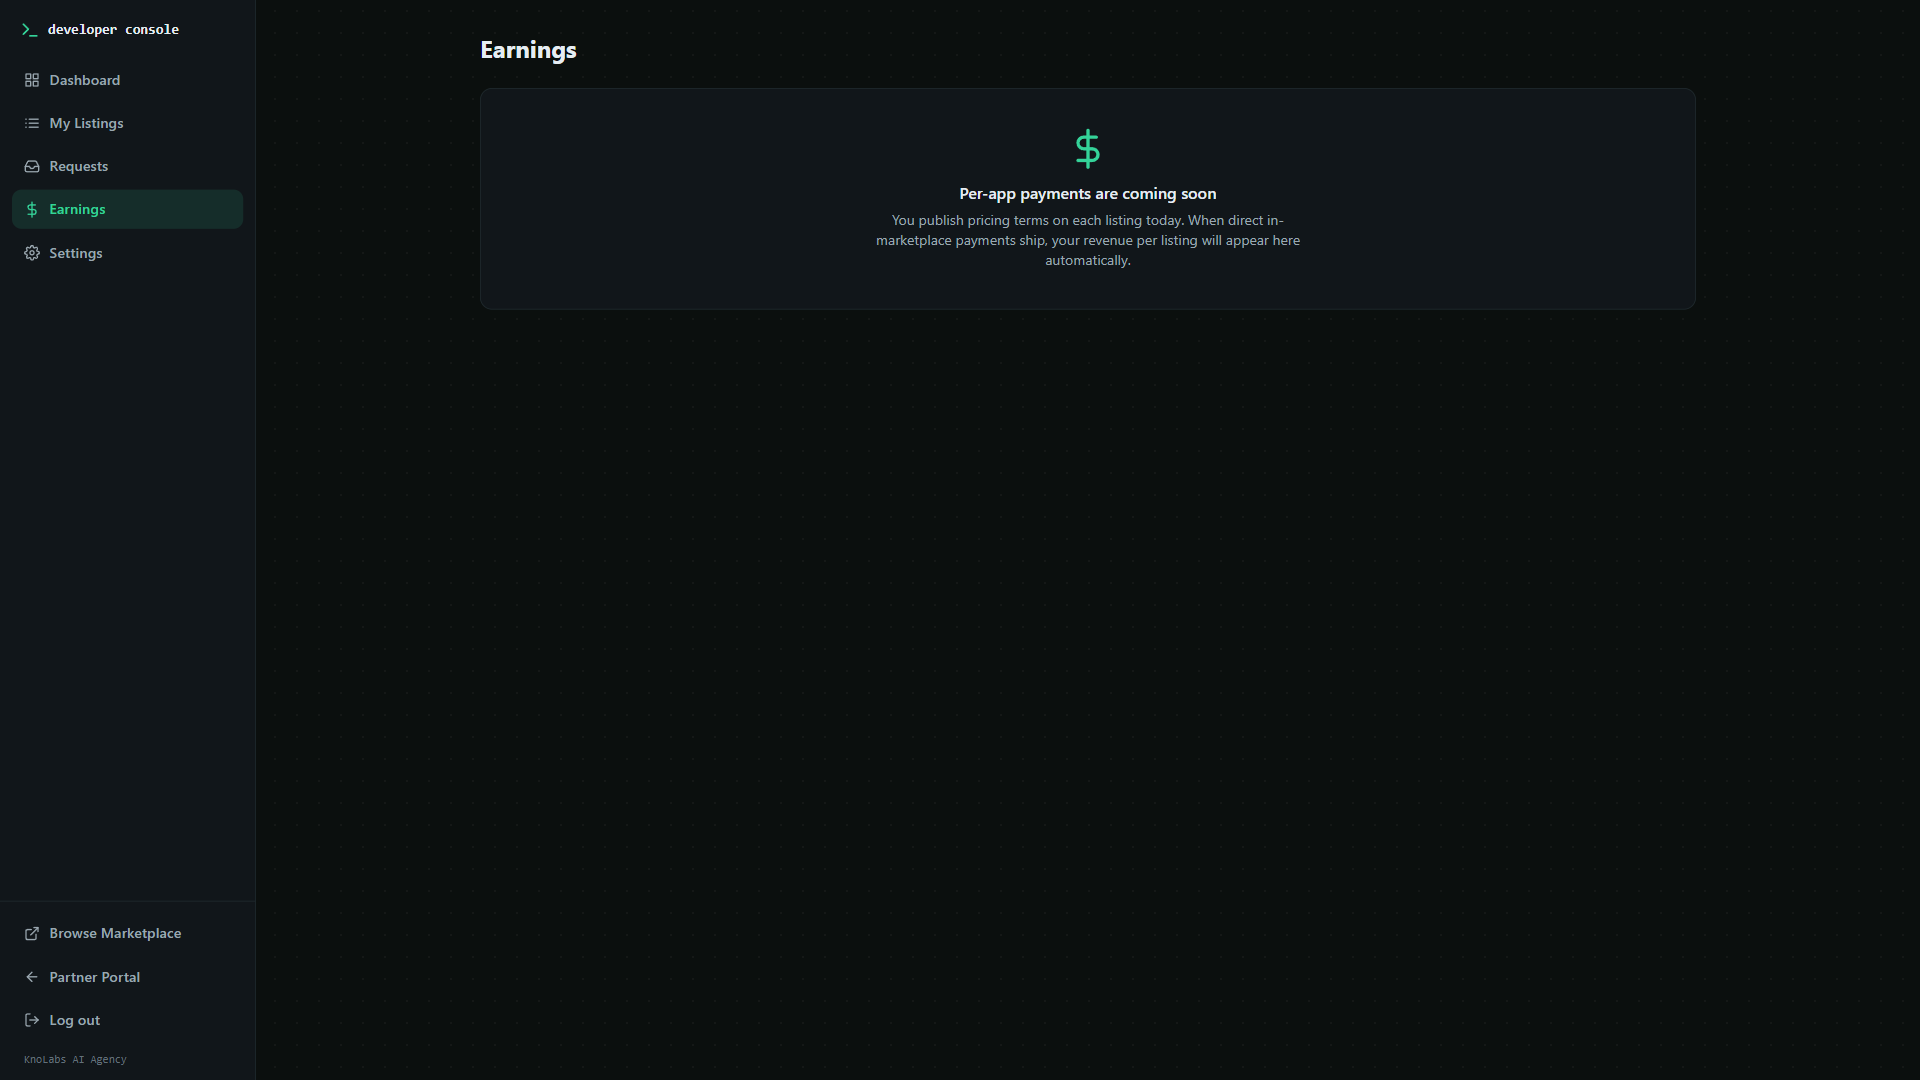
 ## Earnings
Go to **Earnings** in the Developer Console sidebar to see:
* Total lifetime revenue
* Revenue per listing
* Recent transactions
Payouts follow your Stripe Connect payout schedule. All revenue from marketplace sales is paid directly to your connected Stripe account.
## Earnings
Go to **Earnings** in the Developer Console sidebar to see:
* Total lifetime revenue
* Revenue per listing
* Recent transactions
Payouts follow your Stripe Connect payout schedule. All revenue from marketplace sales is paid directly to your connected Stripe account.
 ## Developer Console settings
In **Settings** (inside the Developer Console), you can:
* Update your developer display name and bio
* Review the accepted Terms of Service version
* Re-accept terms if prompted after an update
## Privacy and buyer data
The Developer Console is designed to protect end-customer privacy:
* No developer-facing screen exposes the identity of end-customers.
* Buyer interactions (reviews, requests, purchases) are **partner-to-partner** — you see the buying partner, not their customers.
* The customer-facing view of any listing shows only public details (no cost breakdown, no developer account details).
## Troubleshooting
**Pricing controls are greyed out.**\
Your Stripe account does not have charges enabled. Complete Stripe onboarding at [Partner Settings → Stripe Connect](/partner-portal/settings/stripe-connect).
**I can't access the Developer Console.**\
Make sure you have accepted the Developer Agreement. If the page redirects you back to the agreement gate, read and accept the terms to proceed.
**I updated terms but the agreement gate keeps reappearing.**\
The platform bumped the terms version. You must re-accept the new version before continuing.
**My listing isn't appearing in the marketplace.**\
Check that the listing status is **Published** (not Draft or Unpublished) in the Listings panel.
## Related pages
* [App Marketplace (buying)](/partner-portal/marketplace/overview) — Browse and purchase listings as a buyer
* [Stripe Connect](/partner-portal/settings/stripe-connect) — Required for accepting marketplace payments
* [New Solutions](/partner-portal/experiences/overview) — How buyers use purchased listings in their portals
## Developer Console settings
In **Settings** (inside the Developer Console), you can:
* Update your developer display name and bio
* Review the accepted Terms of Service version
* Re-accept terms if prompted after an update
## Privacy and buyer data
The Developer Console is designed to protect end-customer privacy:
* No developer-facing screen exposes the identity of end-customers.
* Buyer interactions (reviews, requests, purchases) are **partner-to-partner** — you see the buying partner, not their customers.
* The customer-facing view of any listing shows only public details (no cost breakdown, no developer account details).
## Troubleshooting
**Pricing controls are greyed out.**\
Your Stripe account does not have charges enabled. Complete Stripe onboarding at [Partner Settings → Stripe Connect](/partner-portal/settings/stripe-connect).
**I can't access the Developer Console.**\
Make sure you have accepted the Developer Agreement. If the page redirects you back to the agreement gate, read and accept the terms to proceed.
**I updated terms but the agreement gate keeps reappearing.**\
The platform bumped the terms version. You must re-accept the new version before continuing.
**My listing isn't appearing in the marketplace.**\
Check that the listing status is **Published** (not Draft or Unpublished) in the Listings panel.
## Related pages
* [App Marketplace (buying)](/partner-portal/marketplace/overview) — Browse and purchase listings as a buyer
* [Stripe Connect](/partner-portal/settings/stripe-connect) — Required for accepting marketplace payments
* [New Solutions](/partner-portal/experiences/overview) — How buyers use purchased listings in their portals