> ## Documentation Index
> Fetch the complete documentation index at: https://docs.knotie-ai.pro/llms.txt
> Use this file to discover all available pages before exploring further.
# Website Studio
> Publish a branded website-services page, organise offers, and track each build.
## Overview
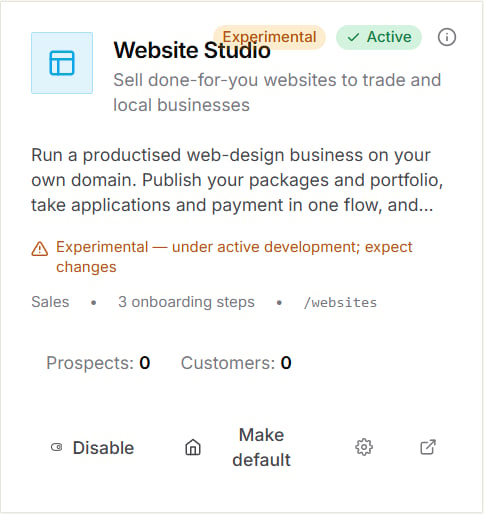
Website Studio helps you sell website builds from your branded domain. The production portal currently marks it **Experimental**.
 ## Open Website Studio
1. In the Partner Portal, open **One-Click Experiences**.
2. Find **Website Studio**.
3. Click **Enable** if the experience is not active.
4. Click **Settings** to configure it.
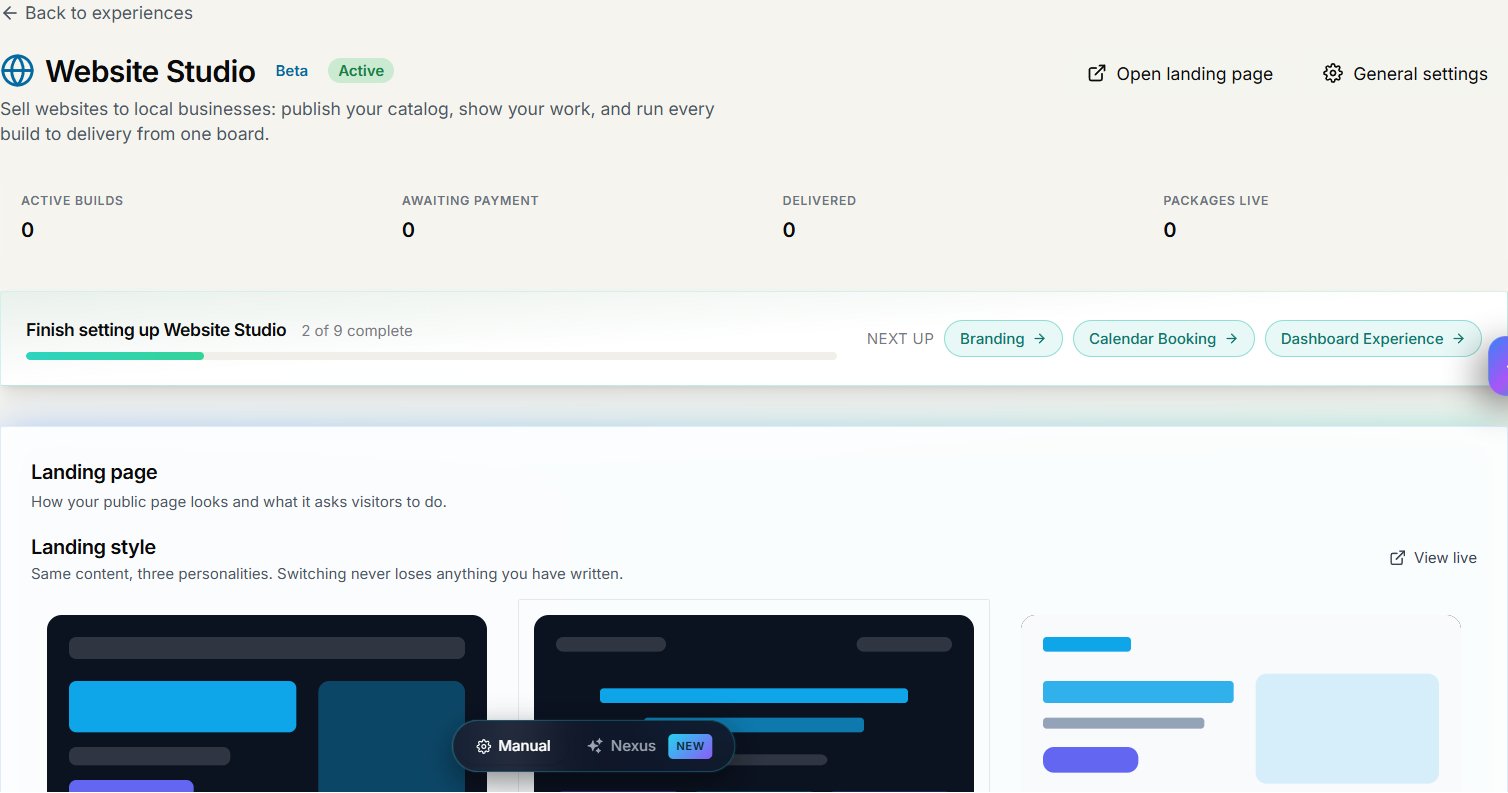
The settings page shows build totals, live packages, and a setup checklist.
## Open Website Studio
1. In the Partner Portal, open **One-Click Experiences**.
2. Find **Website Studio**.
3. Click **Enable** if the experience is not active.
4. Click **Settings** to configure it.
The settings page shows build totals, live packages, and a setup checklist.
 ## Configure the public page
Work through the sections on the settings page:
* **Landing page** — choose **Bold Trades**, **Editorial Premium**, or **Clean Local**; then set your headline, call to action, contact details, review links, and booking link.
* **What the page sells** — choose booking calls, packages, or both.
* **Services** — add the building blocks you will include in packages.
* **Packages** — create the offers customers can buy through your connected payment account.
* **Portfolio** — add your own work and decide which example sites to show.
* **Videos** — upload short clips that explain your work or delivery process.
* **Customer Portal** — review branding, dashboard, sidebar, and trial options for Website Studio customers.
Save each section after making changes.
## Preview the storefront
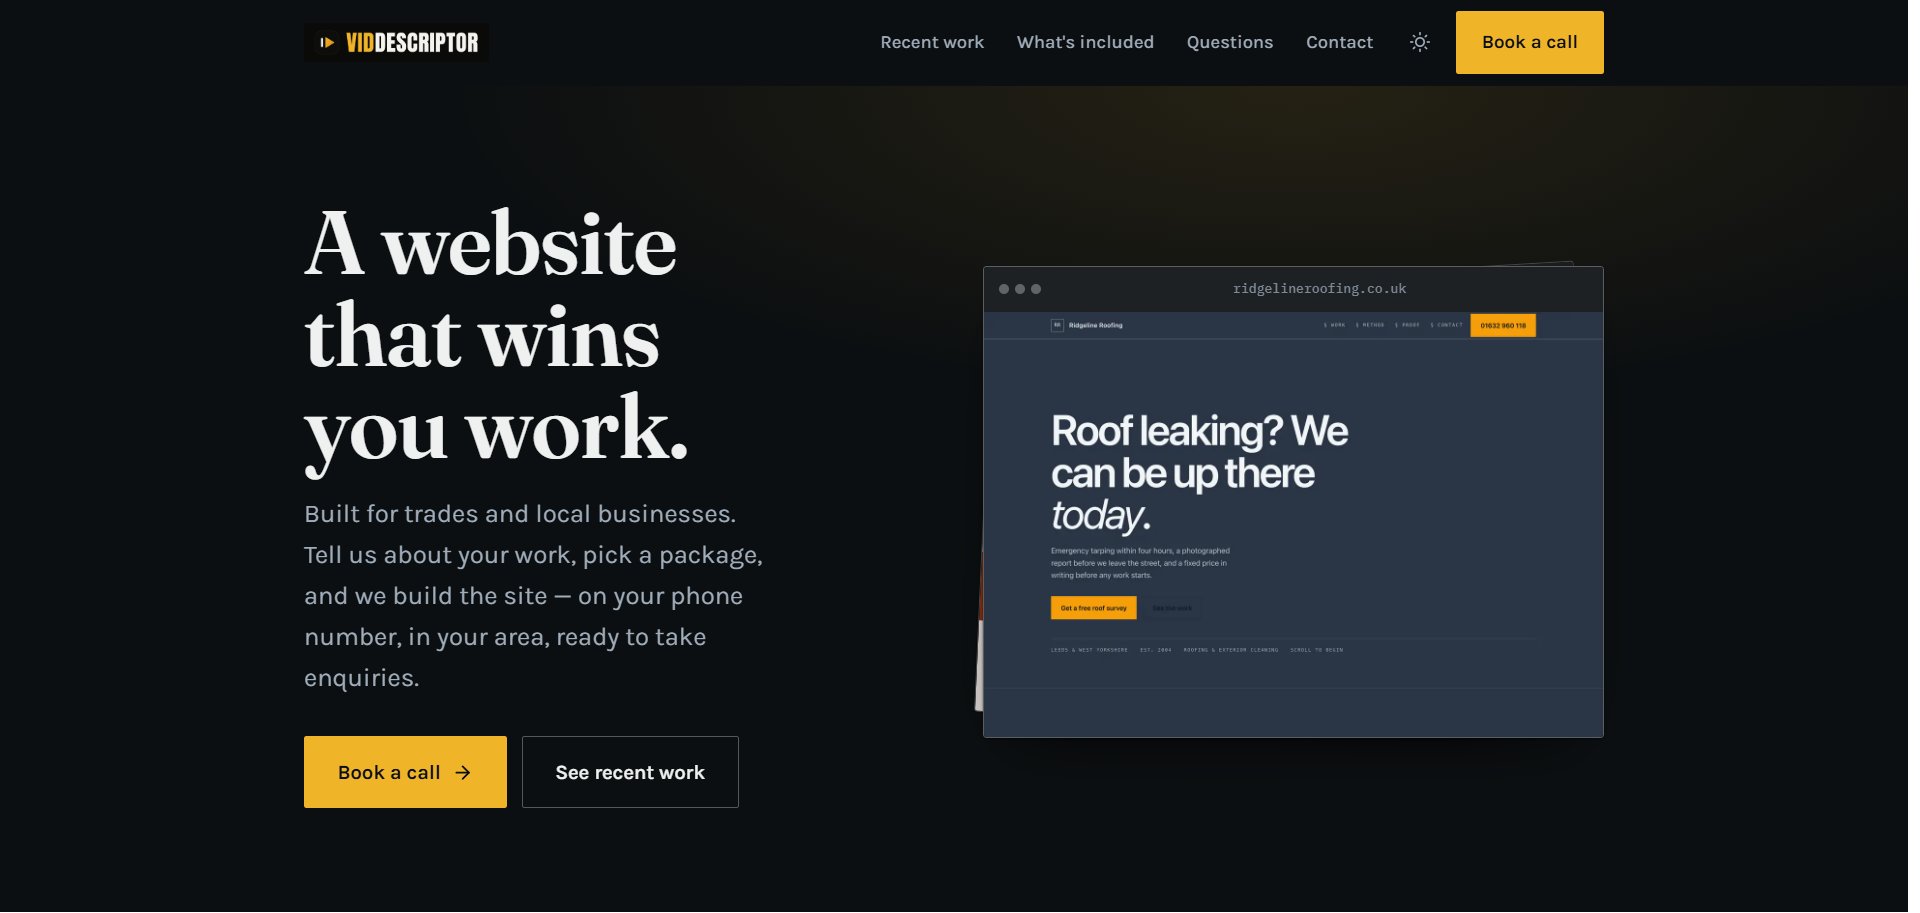
Click **Open landing page** or **View live** to open the customer-facing page on your branded domain. The live storefront can show your recent work, services, process, common questions, and booking or package actions.
## Configure the public page
Work through the sections on the settings page:
* **Landing page** — choose **Bold Trades**, **Editorial Premium**, or **Clean Local**; then set your headline, call to action, contact details, review links, and booking link.
* **What the page sells** — choose booking calls, packages, or both.
* **Services** — add the building blocks you will include in packages.
* **Packages** — create the offers customers can buy through your connected payment account.
* **Portfolio** — add your own work and decide which example sites to show.
* **Videos** — upload short clips that explain your work or delivery process.
* **Customer Portal** — review branding, dashboard, sidebar, and trial options for Website Studio customers.
Save each section after making changes.
## Preview the storefront
Click **Open landing page** or **View live** to open the customer-facing page on your branded domain. The live storefront can show your recent work, services, process, common questions, and booking or package actions.
 ## Track delivery
New applications appear on the **Delivery board**. You can filter builds by status or stage. The visible stages are **Submitted**, **Discovery**, **Design**, **Build**, **Your review**, and **Delivered**.
When you move a build to a new stage or add a customer note, review the customer tracker to confirm the update is clear.
## Publishing choices
The experience card also offers **Make default**, which places the experience on the root of your customer-facing domain. Use **Disable** only when you intend to remove public access to the experience.
## Related pages
* [One-Click Experiences](/partner-portal/experiences/overview)
* [Stripe Connect](/partner-portal/settings/stripe-connect)
* [Whitelabel settings](/partner-portal/settings/whitelabel-settings)
## Track delivery
New applications appear on the **Delivery board**. You can filter builds by status or stage. The visible stages are **Submitted**, **Discovery**, **Design**, **Build**, **Your review**, and **Delivered**.
When you move a build to a new stage or add a customer note, review the customer tracker to confirm the update is clear.
## Publishing choices
The experience card also offers **Make default**, which places the experience on the root of your customer-facing domain. Use **Disable** only when you intend to remove public access to the experience.
## Related pages
* [One-Click Experiences](/partner-portal/experiences/overview)
* [Stripe Connect](/partner-portal/settings/stripe-connect)
* [Whitelabel settings](/partner-portal/settings/whitelabel-settings)