> ## Documentation Index
> Fetch the complete documentation index at: https://docs.knotie-ai.pro/llms.txt
> Use this file to discover all available pages before exploring further.
# Campaigns
> Create and manage outbound calling campaigns.
## Open Campaigns
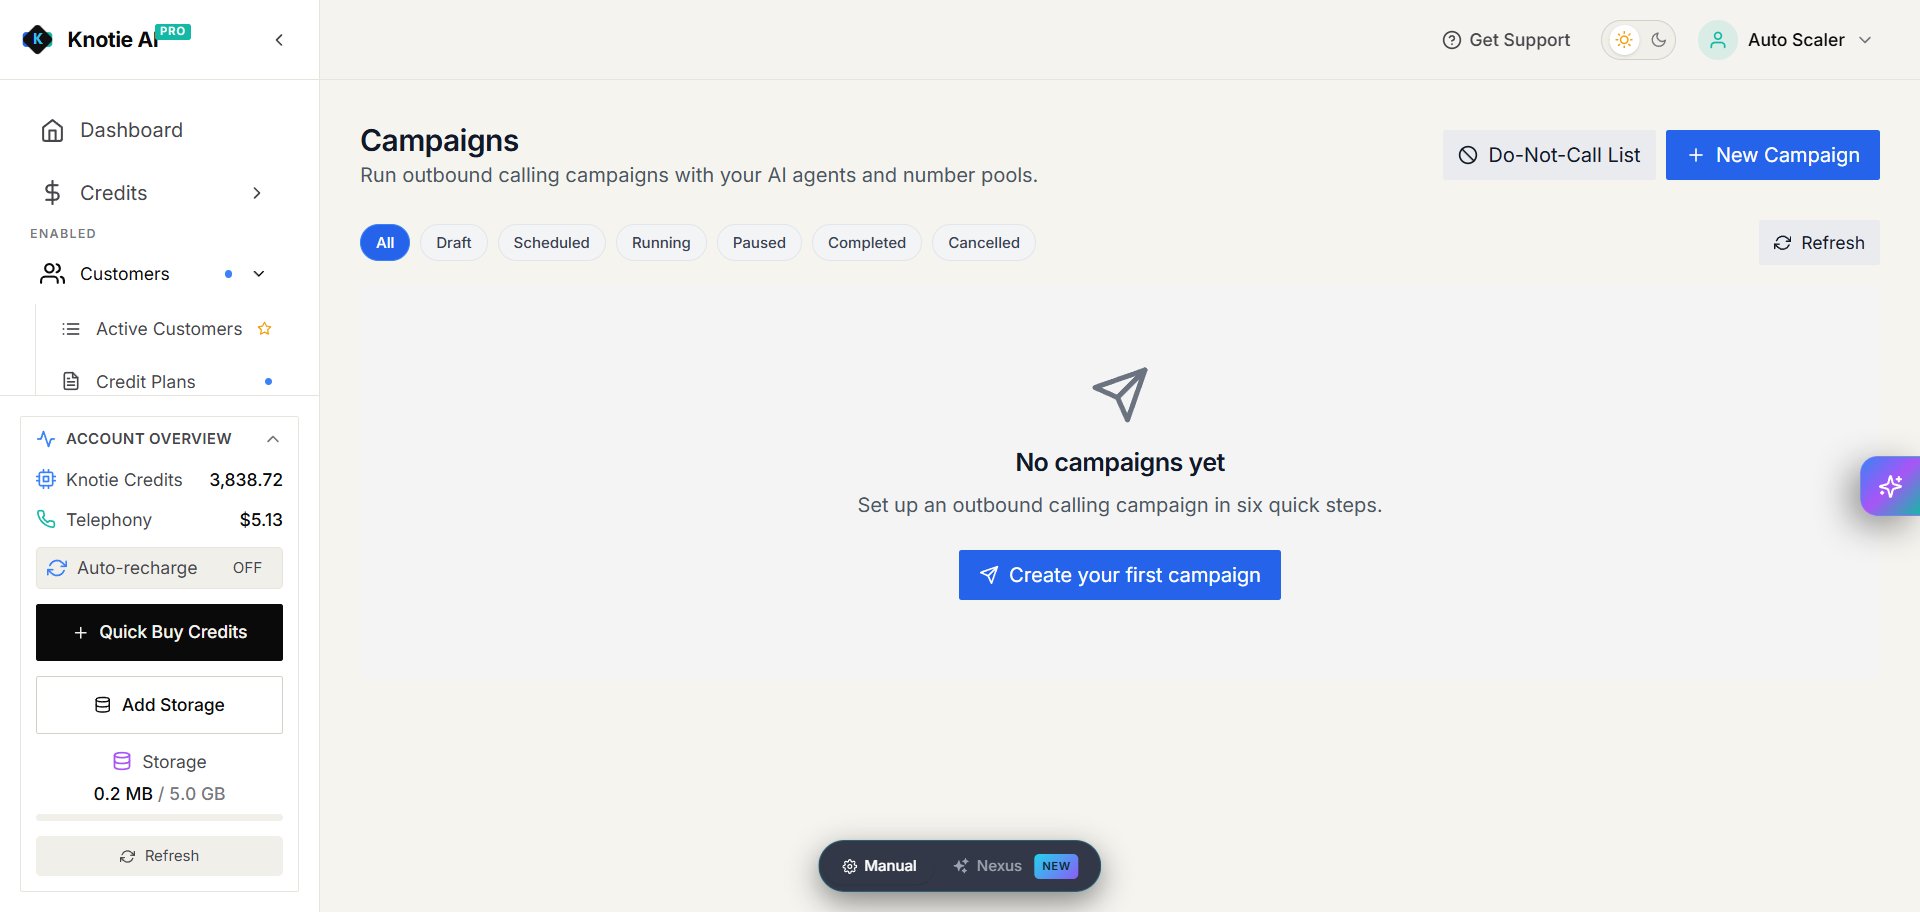
Select **Campaigns** in the Partner Portal sidebar. The overview groups campaigns by status and gives you quick access to the Do-Not-Call list.
 ## Create a campaign
Select **New Campaign**. Production currently shows six steps:
1. **Basics** — name the campaign, add an optional description, and choose whether it belongs to your partner account or a customer.
2. **Agent** — choose the outbound agent that makes the calls.
3. **Numbers** — choose the calling number or number pool.
4. **Prospects** — add the people to call.
5. **Schedule** — choose when calls may run.
6. **Review** — check the setup before creating the campaign.
## Create a campaign
Select **New Campaign**. Production currently shows six steps:
1. **Basics** — name the campaign, add an optional description, and choose whether it belongs to your partner account or a customer.
2. **Agent** — choose the outbound agent that makes the calls.
3. **Numbers** — choose the calling number or number pool.
4. **Prospects** — add the people to call.
5. **Schedule** — choose when calls may run.
6. **Review** — check the setup before creating the campaign.
 If no agent is available in step 2, open **Phone Numbers** and assign an outbound agent to a number before returning to the campaign.
## Create a campaign for a customer
Choose the customer in **Basics** to make the campaign available in that customer's portal. You can also turn on **Let this customer upload their own prospects**.
Only grant authoring access to customers who should manage outbound calls. Customer defaults are under **Settings → Platform Configuration**, and the customer's campaign visibility is under **Customers → Manage → Features & Add-ons**.
## Add prospects
In the **Prospects** step, use the options shown to add prospects manually or upload a CSV file. Download the template from the portal and keep its column headings unchanged.
Use a full phone number with country code. If the template includes extra variable columns, use the same variable names declared in the selected agent. For example, a column named `offer` can supply the agent's `{{offer}}` value for each call.
Review any rejected rows in the upload result and correct them before continuing.
## Manage campaigns
Use the status filters to find campaigns that are **Draft**, **Scheduled**, **Running**, **Paused**, **Completed**, or **Cancelled**. Open a campaign to review its prospects, calls, and current settings.
Available actions depend on the campaign's status. Follow the controls shown on the campaign page to start, pause, resume, or cancel it.
## Do-Not-Call list
Select **Do-Not-Call List** from the Campaigns page to manage numbers that should not receive campaign calls. Review the list before starting a campaign.
## Related pages
* [Customer features and add-ons](/partner-portal/customers/features-addons-and-menu-visibility)
* [Number Pools](/partner-portal/number-pools/overview)
* [Phone numbers](/partner-portal/phone-numbers)
* [Knova outbound calling](/agents/knova/outbound-calling)
If no agent is available in step 2, open **Phone Numbers** and assign an outbound agent to a number before returning to the campaign.
## Create a campaign for a customer
Choose the customer in **Basics** to make the campaign available in that customer's portal. You can also turn on **Let this customer upload their own prospects**.
Only grant authoring access to customers who should manage outbound calls. Customer defaults are under **Settings → Platform Configuration**, and the customer's campaign visibility is under **Customers → Manage → Features & Add-ons**.
## Add prospects
In the **Prospects** step, use the options shown to add prospects manually or upload a CSV file. Download the template from the portal and keep its column headings unchanged.
Use a full phone number with country code. If the template includes extra variable columns, use the same variable names declared in the selected agent. For example, a column named `offer` can supply the agent's `{{offer}}` value for each call.
Review any rejected rows in the upload result and correct them before continuing.
## Manage campaigns
Use the status filters to find campaigns that are **Draft**, **Scheduled**, **Running**, **Paused**, **Completed**, or **Cancelled**. Open a campaign to review its prospects, calls, and current settings.
Available actions depend on the campaign's status. Follow the controls shown on the campaign page to start, pause, resume, or cancel it.
## Do-Not-Call list
Select **Do-Not-Call List** from the Campaigns page to manage numbers that should not receive campaign calls. Review the list before starting a campaign.
## Related pages
* [Customer features and add-ons](/partner-portal/customers/features-addons-and-menu-visibility)
* [Number Pools](/partner-portal/number-pools/overview)
* [Phone numbers](/partner-portal/phone-numbers)
* [Knova outbound calling](/agents/knova/outbound-calling)